#
Home Pets Categorizer
In this tutorial, you will build a classifier model to recognize pets - cats and dogs, in photos and video frames.
You will learn how to:
- add a dataset,
- create and train your model with Keras,
- test your classifier's performance in real time.
To train the model, use the publicly available collection of 25,000 cat and dog photos provided by Microsoft.
#
Adding the dataset
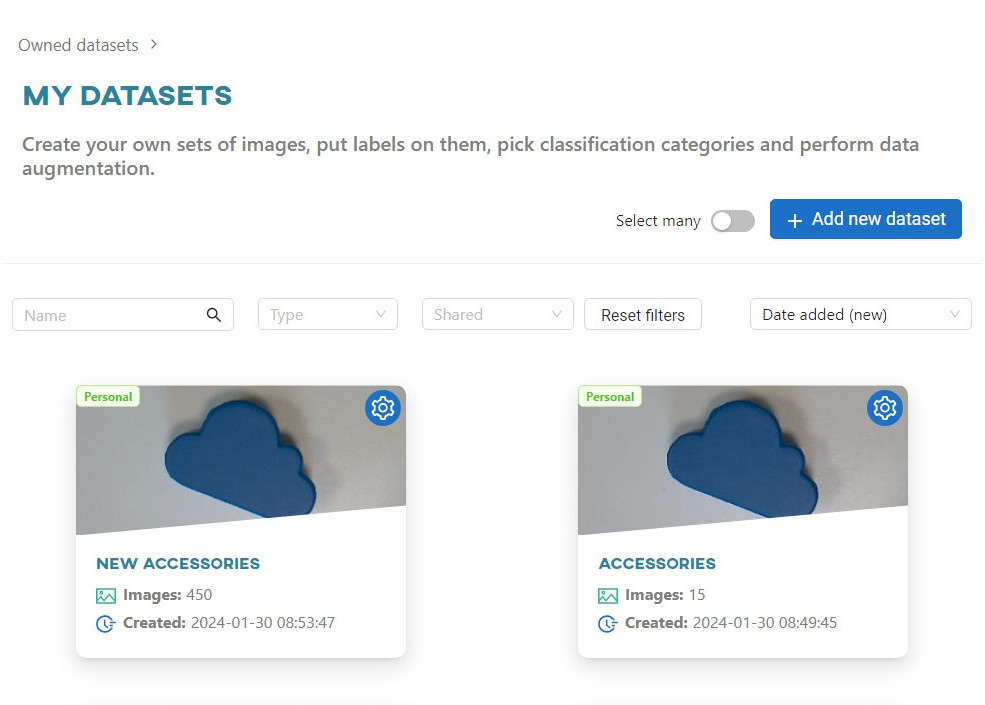
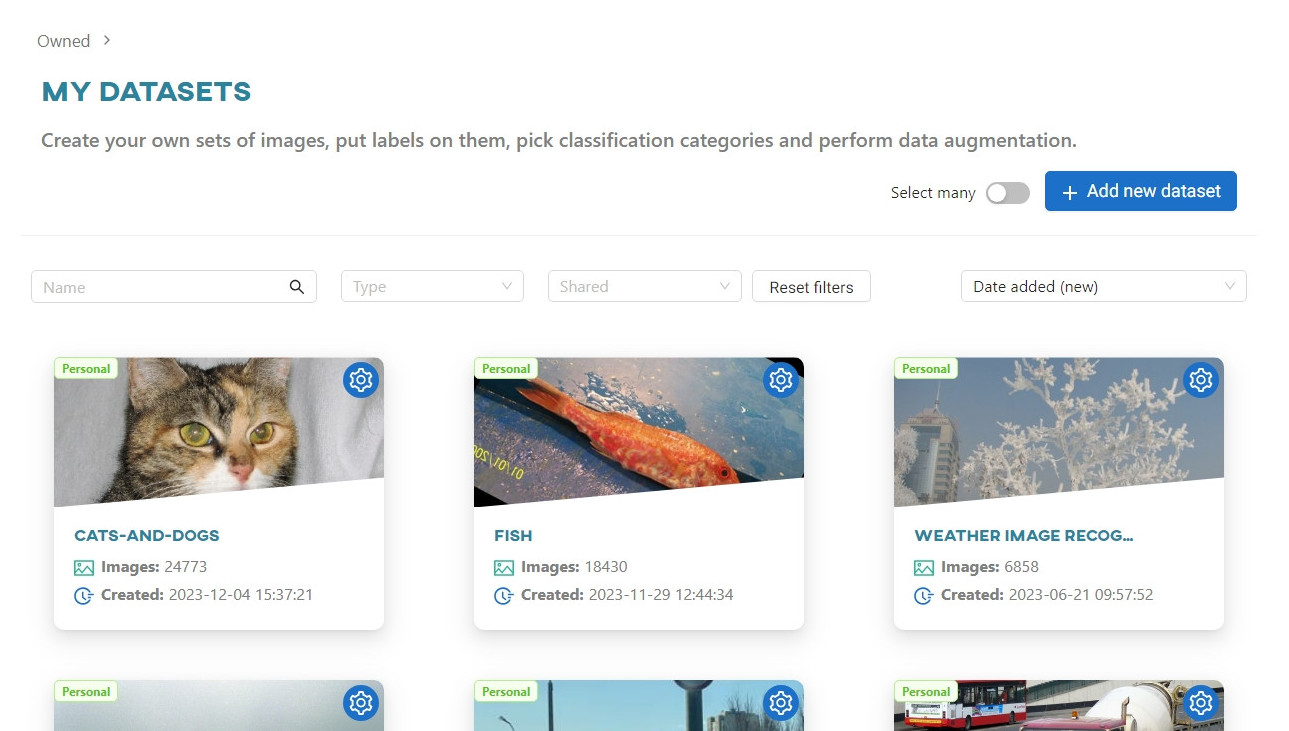
To upload your collection of images, go to the Owned datasets:
#
Upload images
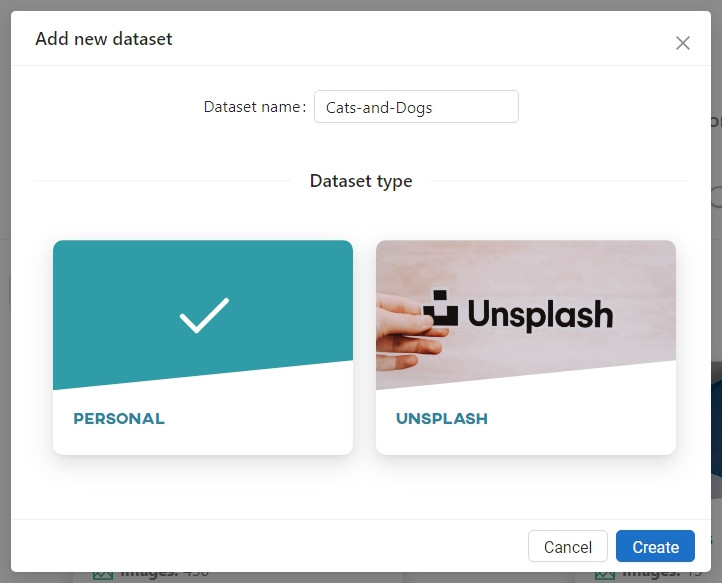
As this is your first visit, you do not have a collection of images yet. Start by adding the first one. To do this, click Add new dataset, enter dataset name and select Personal.
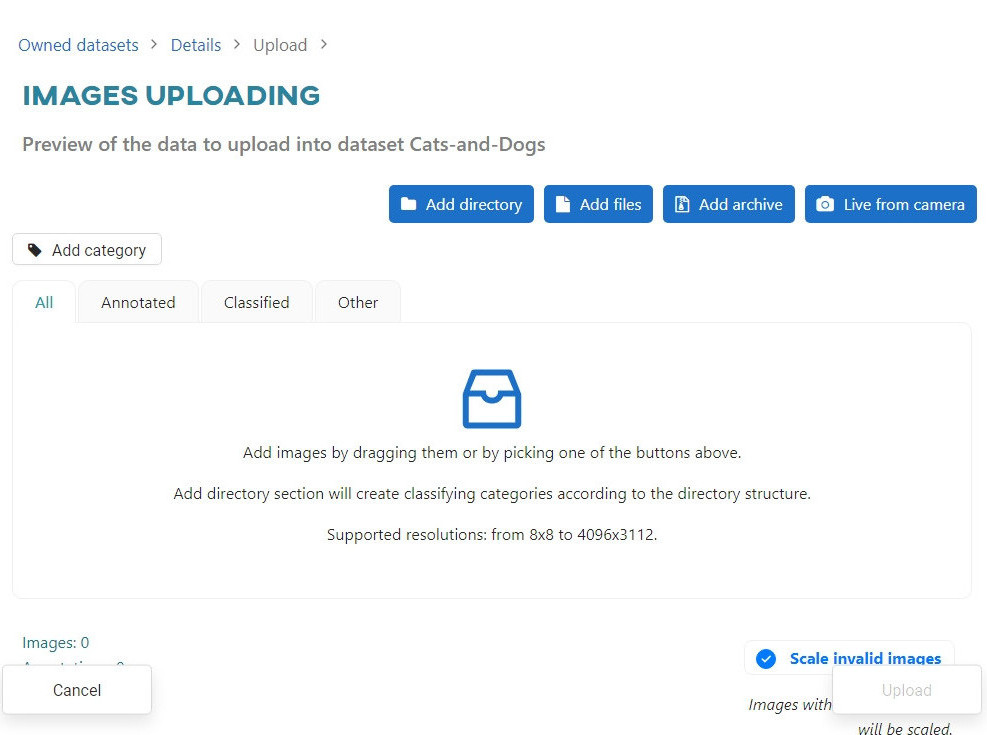
To load images into the application, you can drag and drop them, or:
- load the whole directory including its subdirectories - Add directory,
- load selected files - Add files,
- upload a .zip folder - Add archive,
- use live footage - Live from camera.
Let's say you have uploaded your images from the PetImages directory, which contains subdirectories. The application will use the subdirectory names to create two classification categories: Cat and Dog.
To learn more about ONESTEP AI's adopted logic for loading images and automatically categorizing them based on the directory structure, read the Upload article.
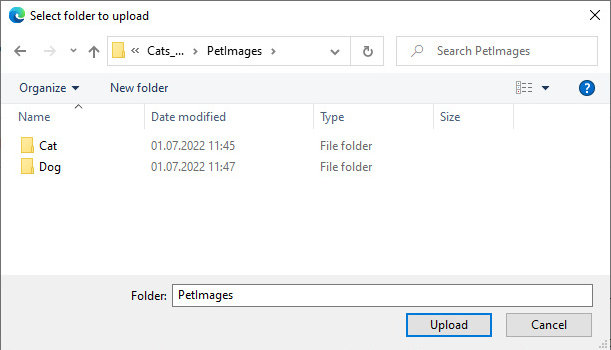
When you select a directory, OSAI searches for images in it and displays the thumbnails in a gallery.
You can browse through the images as they load and delete those you do not need. The All, Annotated, Classified, Other, Dog, Cat tabs visible in the gallery view show how the collection was divided using the automatic analysis - classes in the classification process and objects in the detection process.
Once the search process is complete, the Upload button will be enabled. You can now upload your image collection.
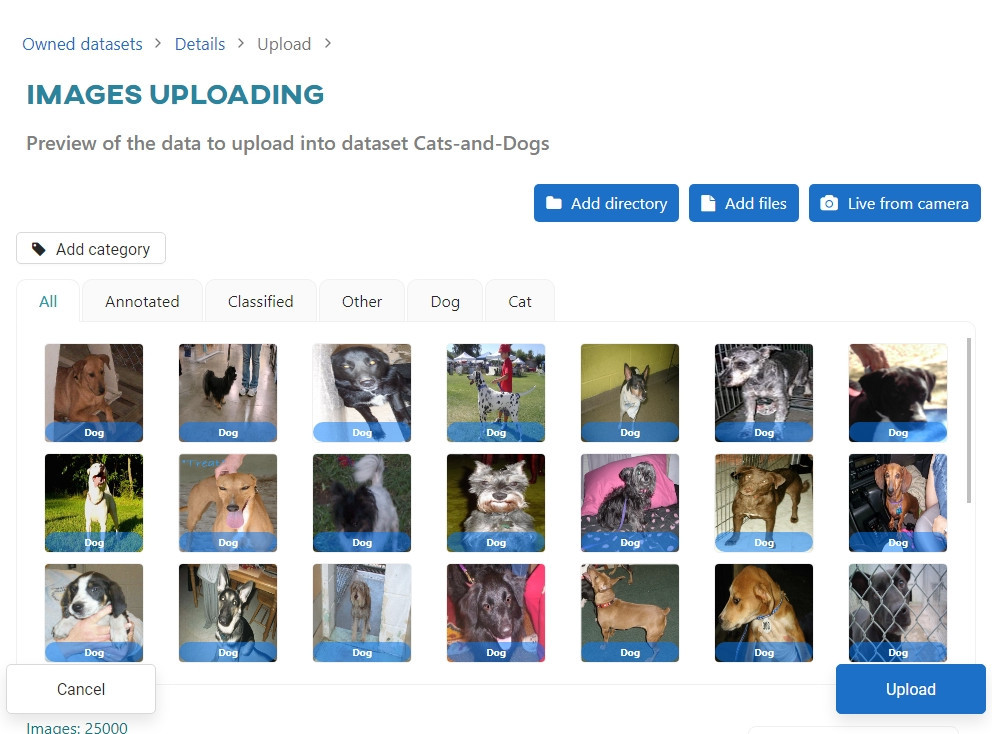
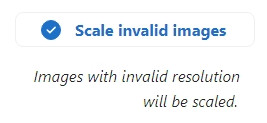
ONESTEP AI has some limitations on the size of uploaded images, so you will need to decide what should happen to images outside the resolution range. You can select or deselect the Scale invalid images option. For this tutorial, it does not matter whether you select this option or not.
The loading task is performed in the background. You can monitor the progress in the Dashboard or Datasets view.
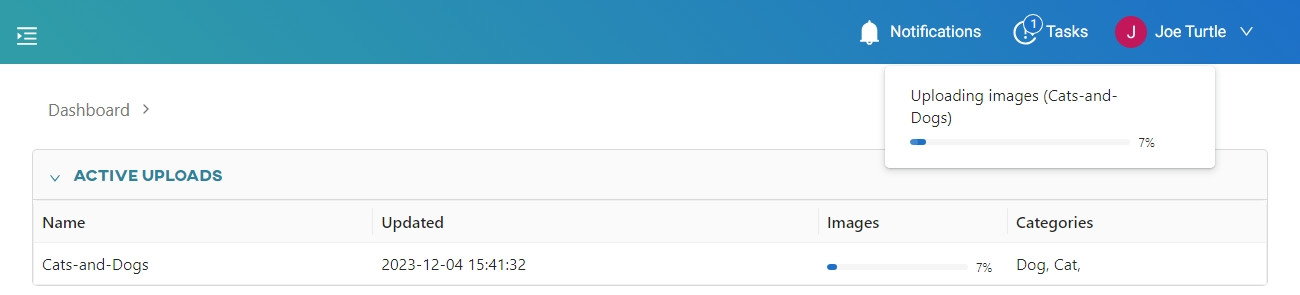
When the upload is complete, you will see the number of uploaded images in the Dashboard.
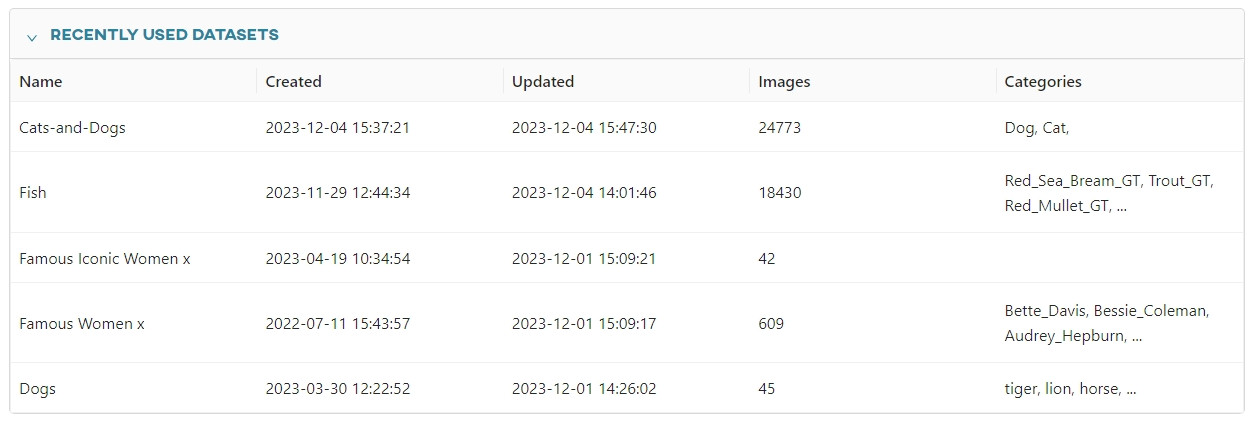
In the Datasets view you will find a tile with one of the images on the cover.
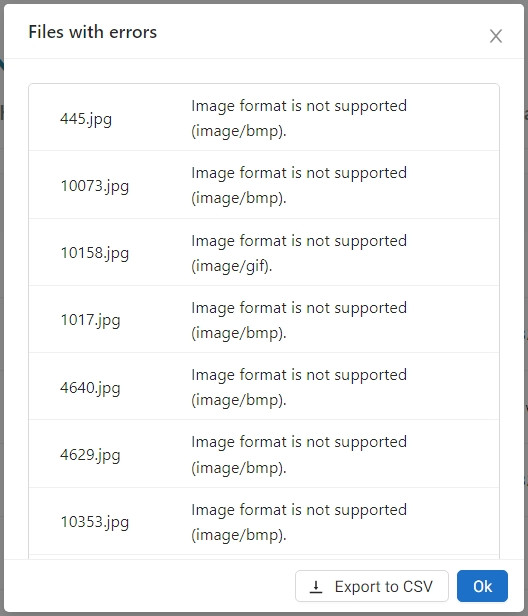
If you look at the upload, you will see that some of the images were not uploaded. This is probably because the images were incorrectly converted from various extensions to .jpg, and their metadata contained information about extensions that OSAI does not support.
#
Pick categories
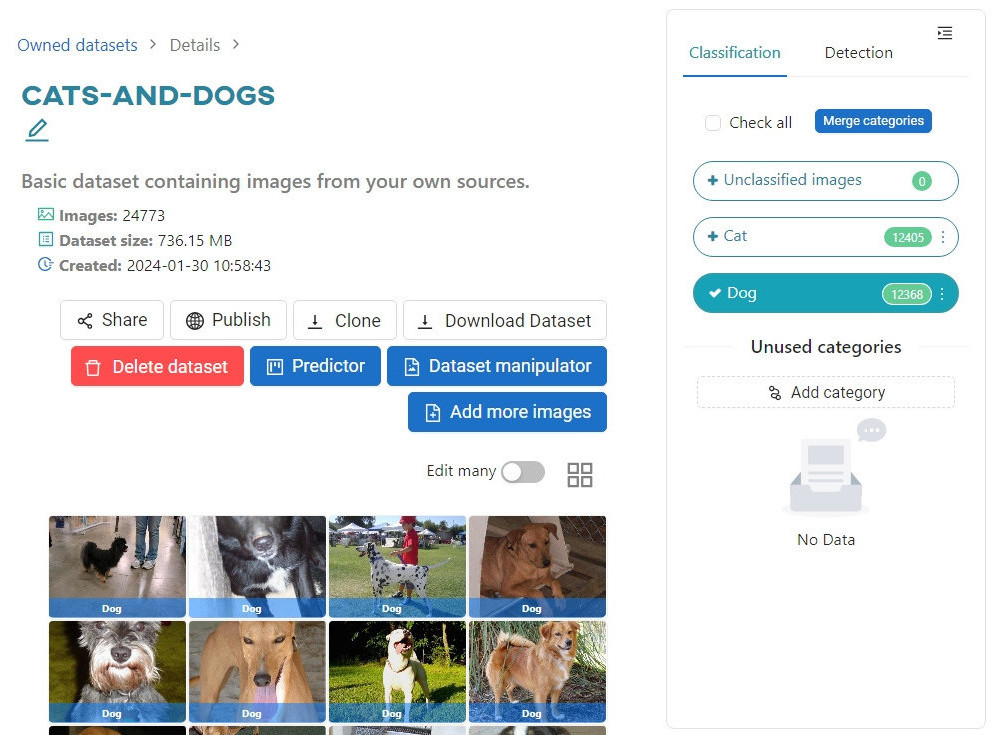
When you click on the image collection tile, you will see a gallery view, similar to the one you are already familiar with from the process of adding a dataset.
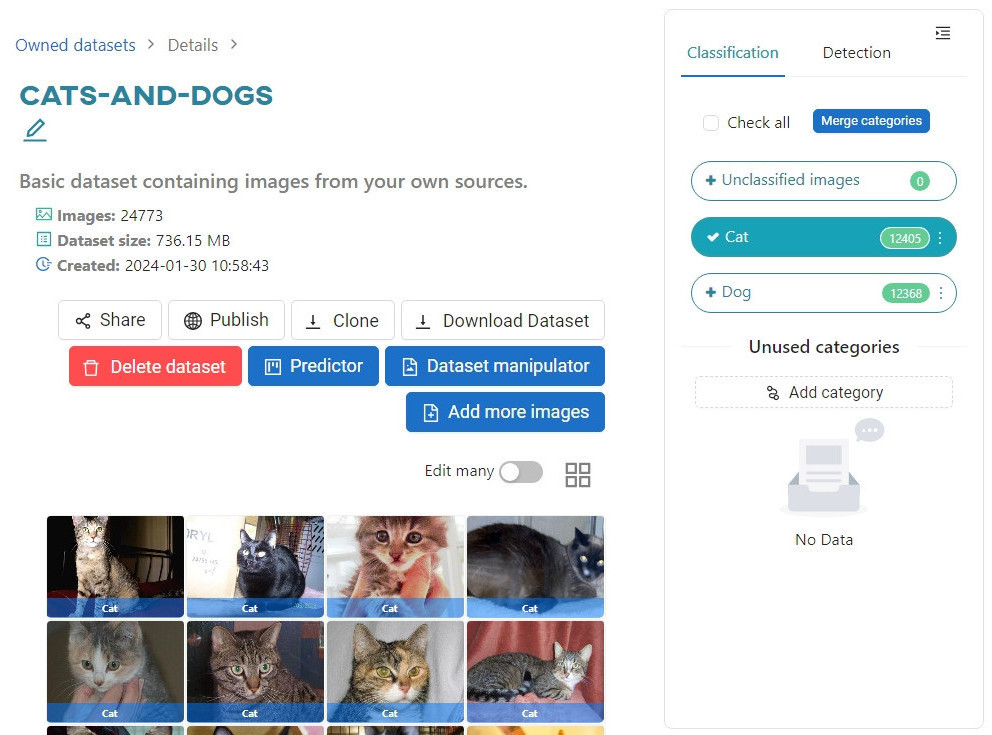
In the right-hand menu, you can switch between the Classification and Object Detection tabs. If you only want to view one category of photos, narrow down the selection by clicking on the relevant tag set in the automatic analysis process. Here, you can see two classes, Cat and Dog, and the photos that belong to them.
You now have a dataset that you can use to train your classification model.
#
Working on the model
#
Create the model
To create a model, go to the Models section of the Trainings menu. Start by preparing a classifier.
Click Add new model and follow the model configuration process that OSAI will guide you through.
You will be asked to select the model type, Detection or Classification, and since you want to create a classifier, you must choose the latter.

First, you need to select the dataset that will be the input data for the model training. Choose Cats-and-Dogs:
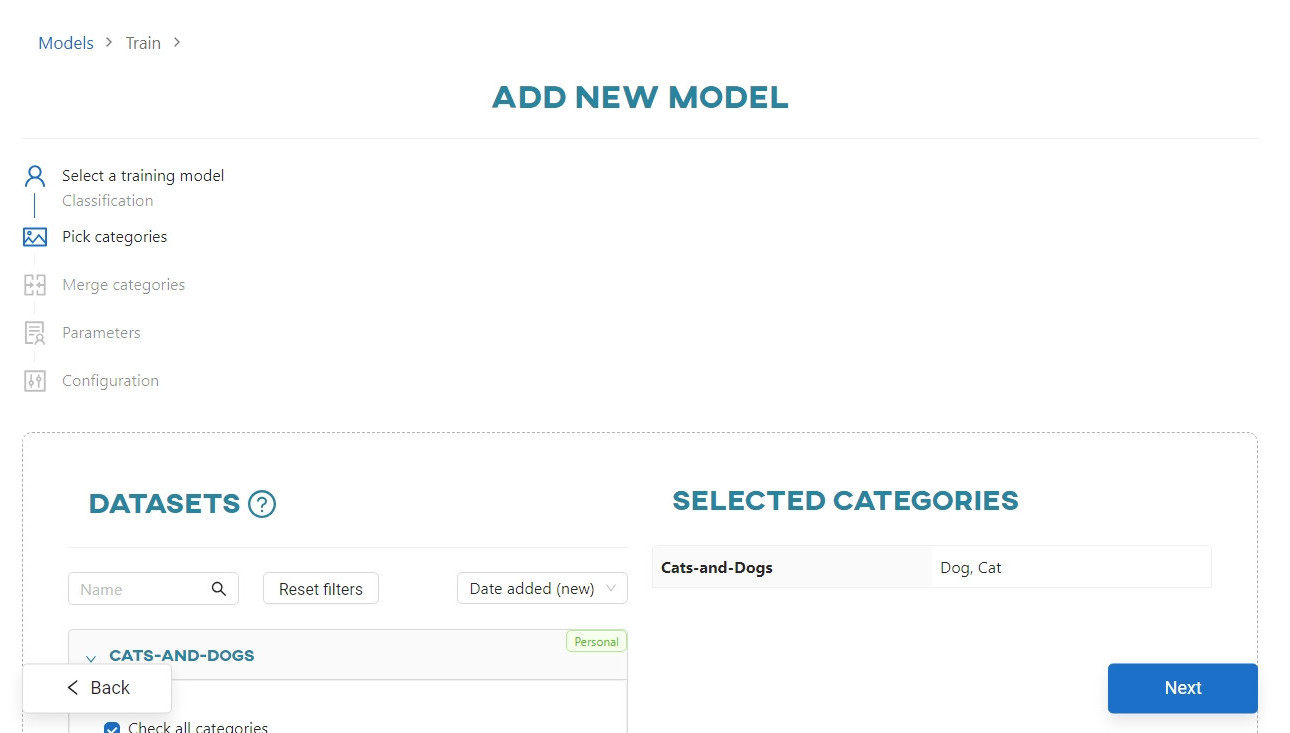
Now you can manage the categories of images within the dataset. This option is described in much more detail in Creating and training models article. In this case, you only have two categories and they are correctly named, so continue by clicking Next.

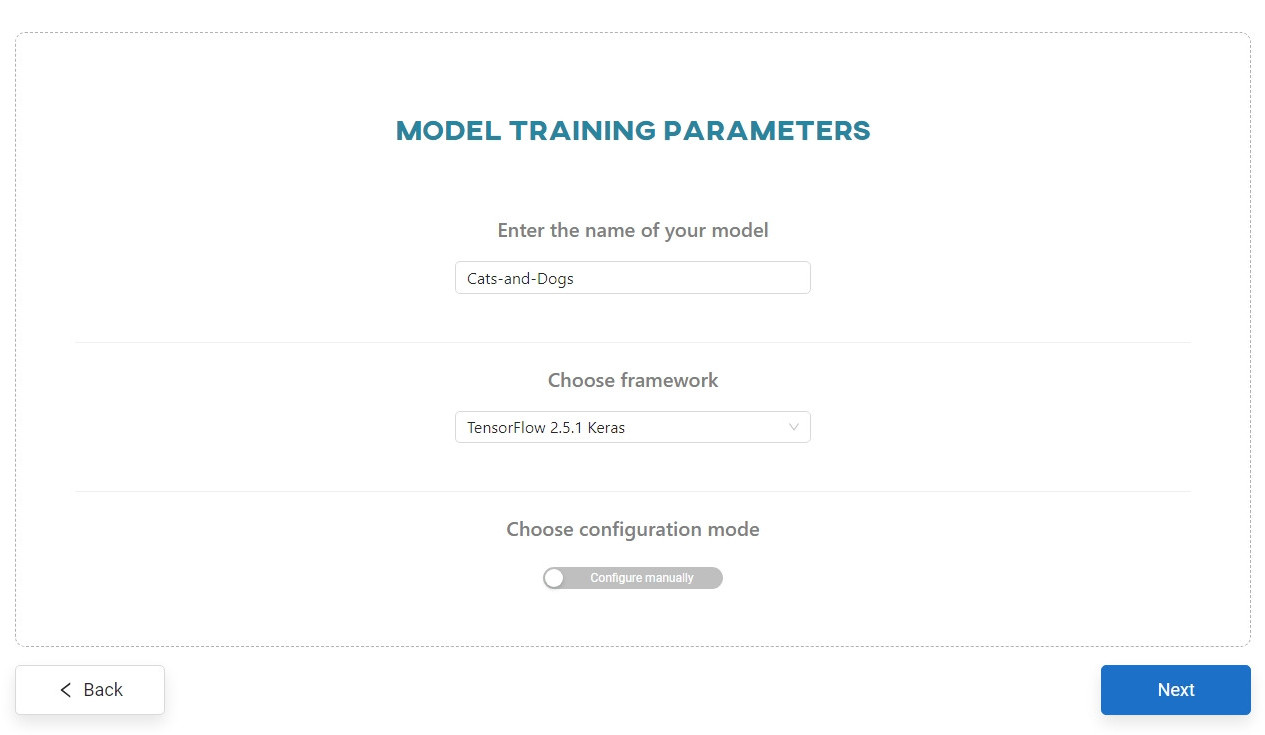
The next step is to parameterize the model. Here you need to give your model a name (a string of characters without spaces) and then select the Framework you want to use. Then, click on the Pretrained model to select the model that has been predefined in this framework.
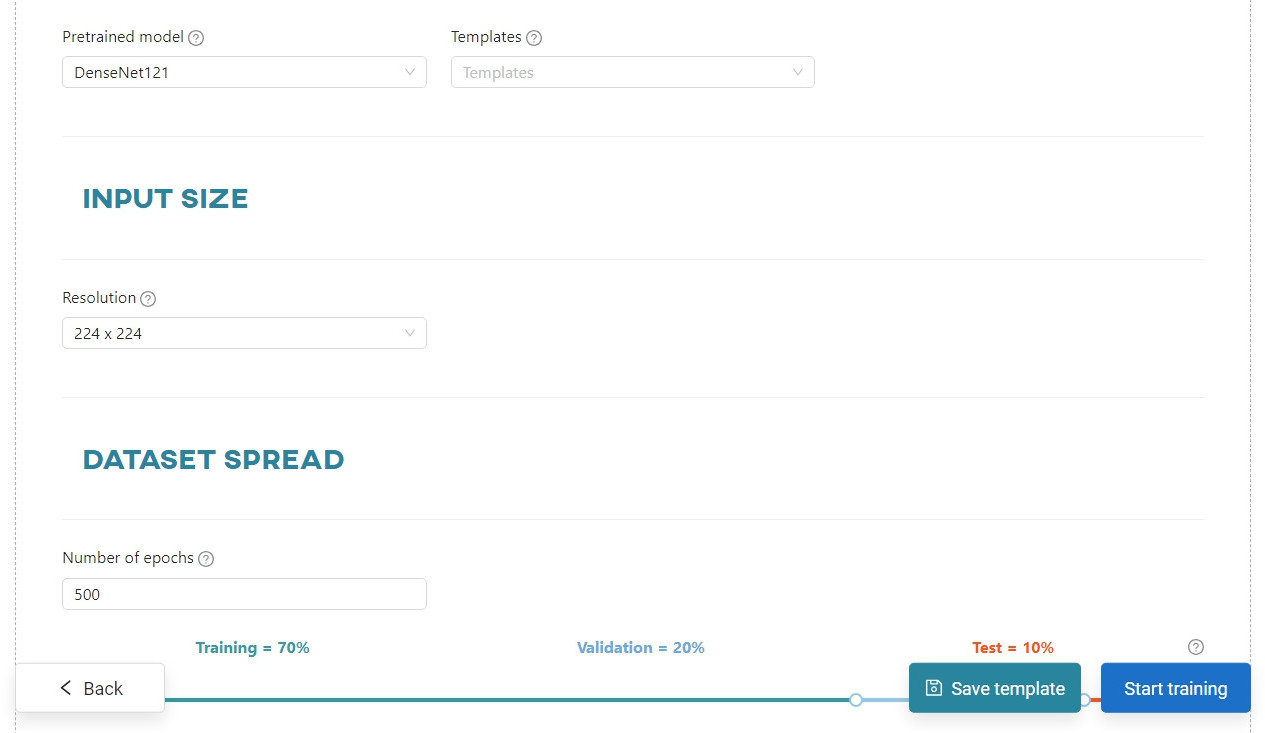
OSAI will suggest the model's preferred input image sizes of the learning set and the percentage breakdown of the dataset (into training, validation and test sets). The hints have been designed according to what is reported in the literature to be the correct and most effective parameters. However, you are free to change any of them.
Use the default parameters, suggested by OSAI and enter 500 in the Number of epochs field. Click Start training.
#
Train the model
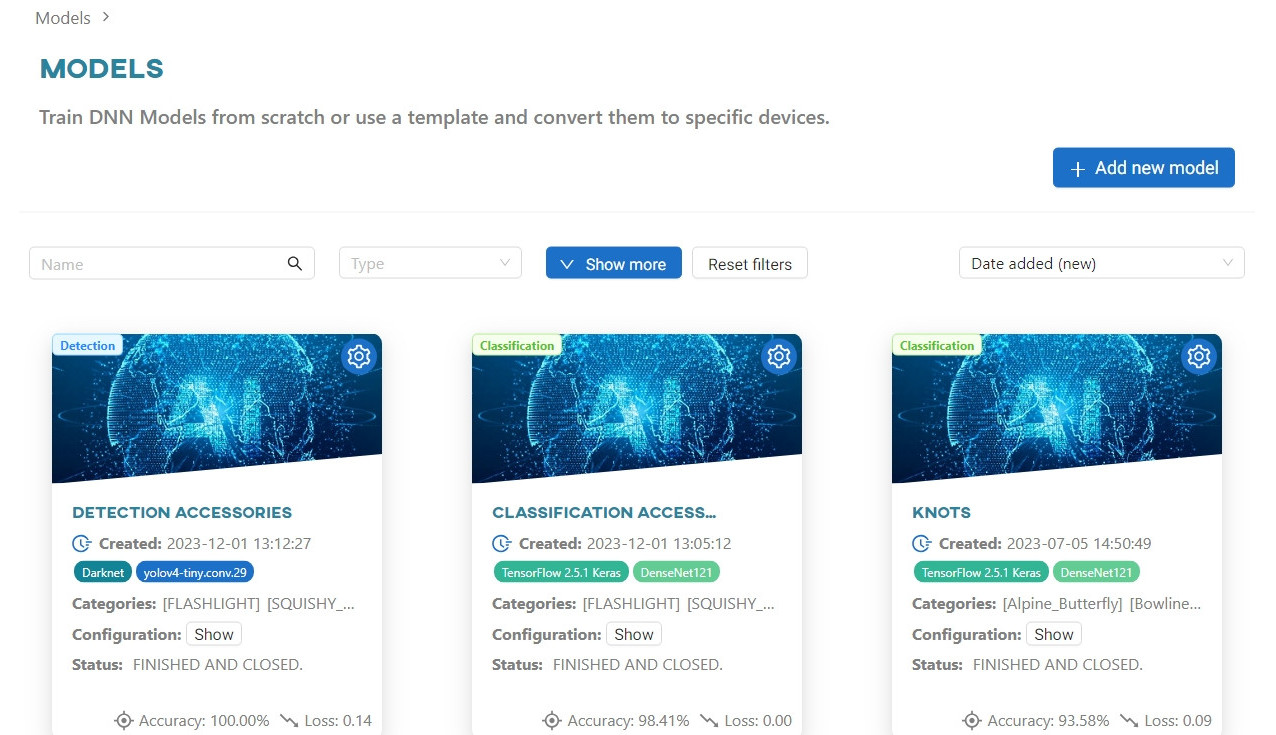
Like the image upload process, the model training task runs in the background. You can track its progress in the Dashboard and in the Models section, where a new Model tile has now appeared.

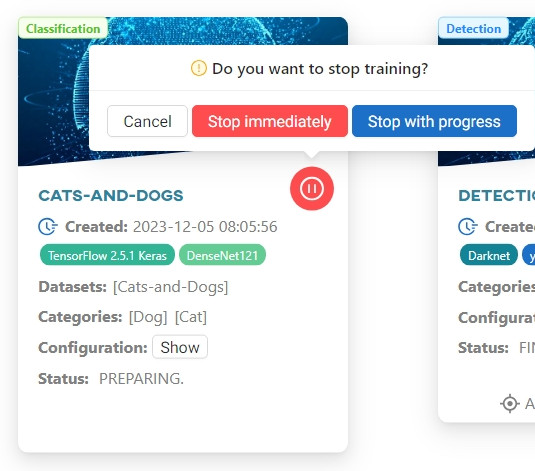
On the tile there is a Stop button. There are two ways to terminate the training process.
- Select
Stop immediatelyto terminate the process and not save any data. - Or select to
Stop with progress. This will stop the training as soon as the current iteration (epoch) is completed. The models and training results will be saved.
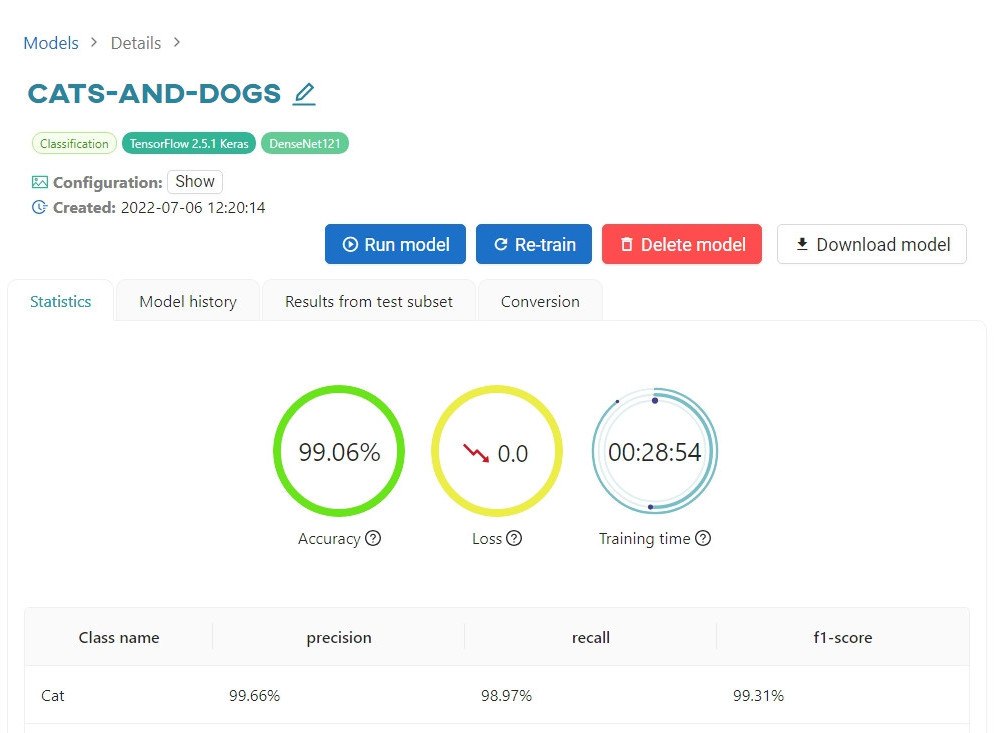
When the training is complete, hover over the gear icon and select Details to view full statistics of the training process, model history, results from the test subset, and options for converting the trained model to run on hardware other than the architecture on which it was trained.
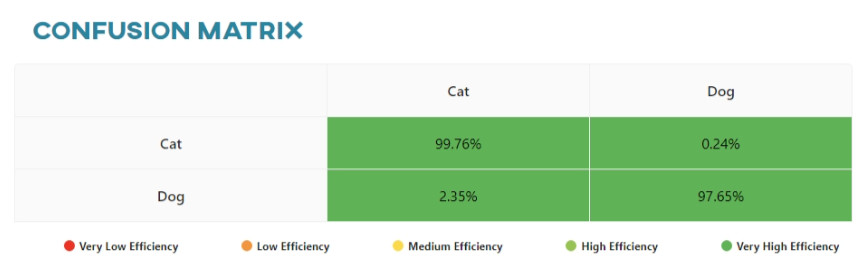
To learn more about model performance, read Tracking model performance article.


We want to test your model on NVIDIA Jetson Nano, so let's convert the model to run on nVIDIA Maxwell.

Once the model is converted, you can use the selected hardware to test its accuracy.
#
Testing your idea
To test your model, go to the Live Testing menu section, click Add device to add a new device, and receive a token to connect it to the test space.
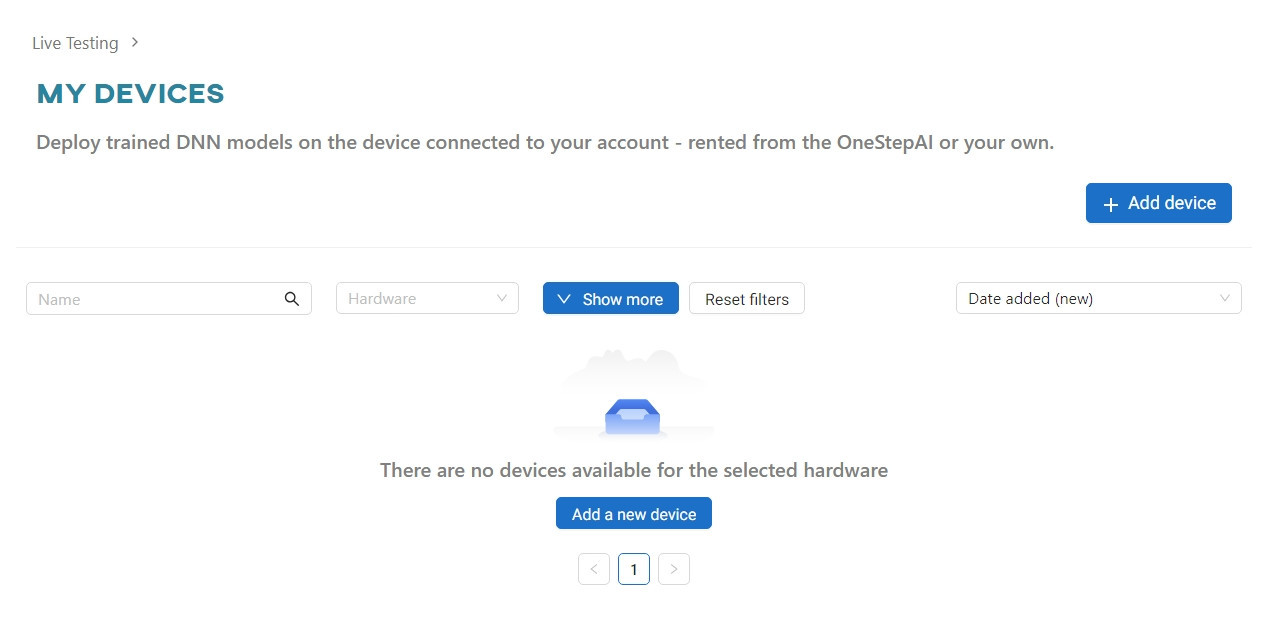
#
Add the device
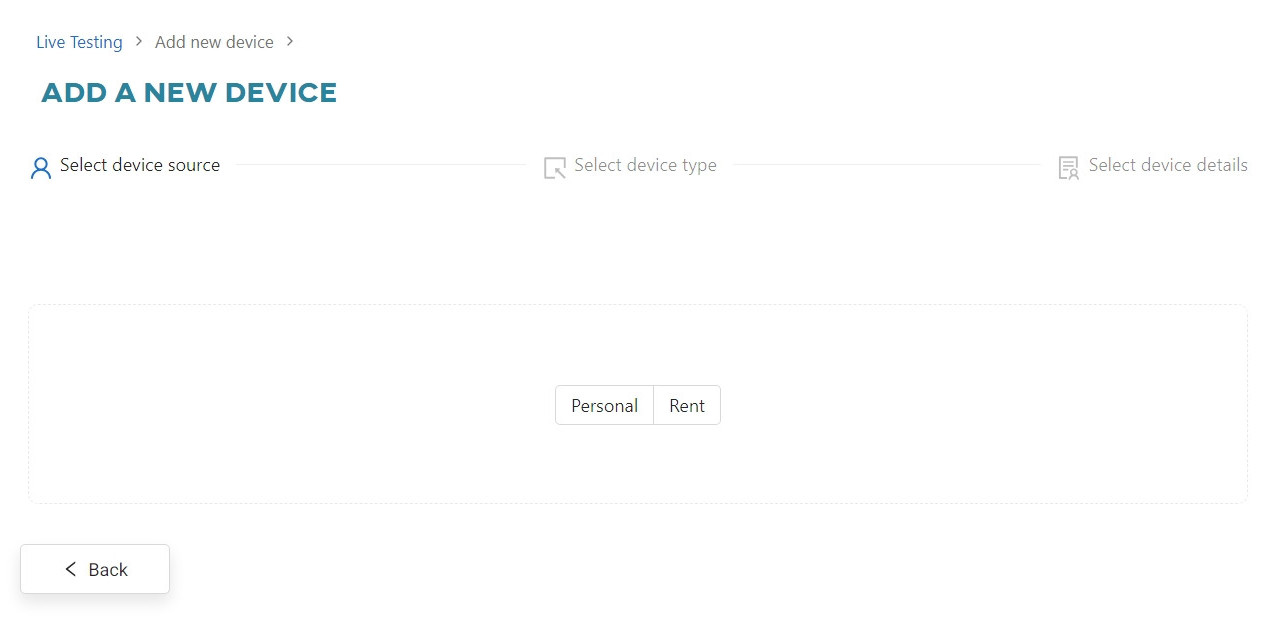
If you have your own Jetson Nano device, you can use it and host a private environment on it to run trained models. In this case, select Own when adding the device and follow the instructions in the documentation.
ONESTEP AI allows you to rent a device for testing models for a fee. In this case, select Rent.
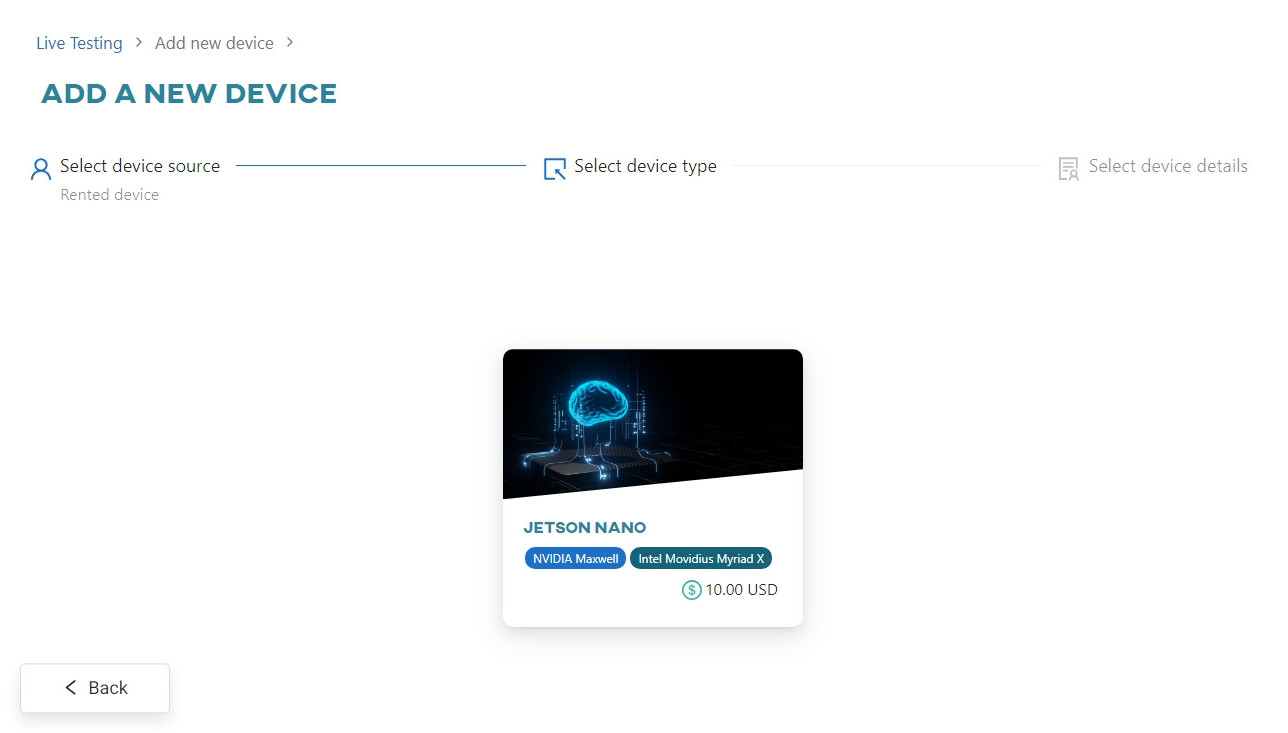
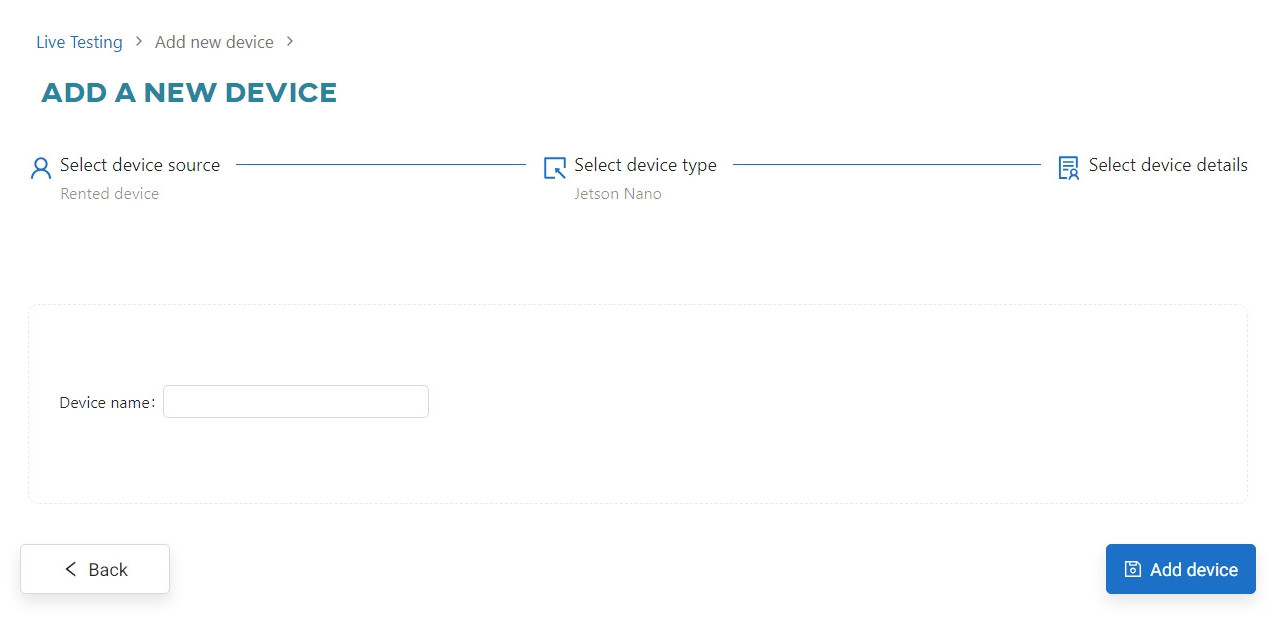
Select Jetson Nano from the list of available devices, name the device Jetson Nano, and click Add device.
As a service, we cannot guarantee the availability of the requested devices. In case of problems and long waiting times, please contact OSAI support who will always inform you when other devices will be available.
#
Connect to web app
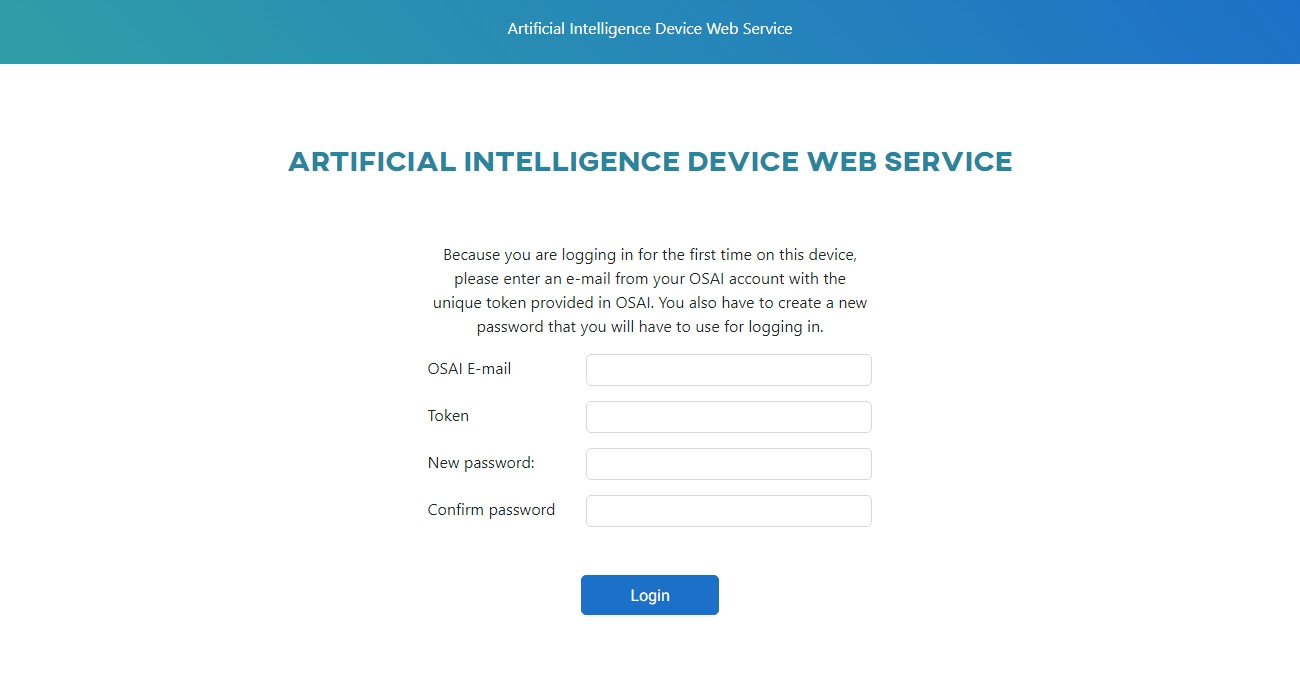
Once you have added the device, it will appear in your device list. Click on the device tile and copy the registration code to the clipboard, then click Copy token and go to device. This will open a new tab in your browser, where you will find a web app that is now using your local Nano device.
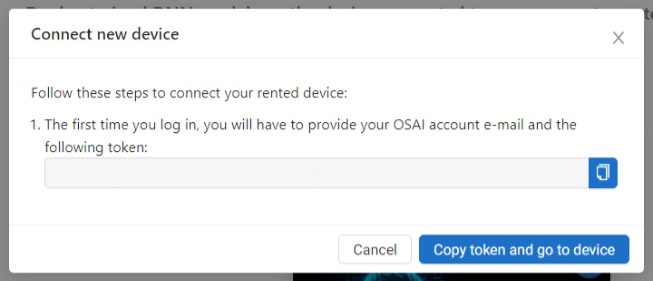
Enter your e-mail, paste your registration code into the Token field, and create a password.
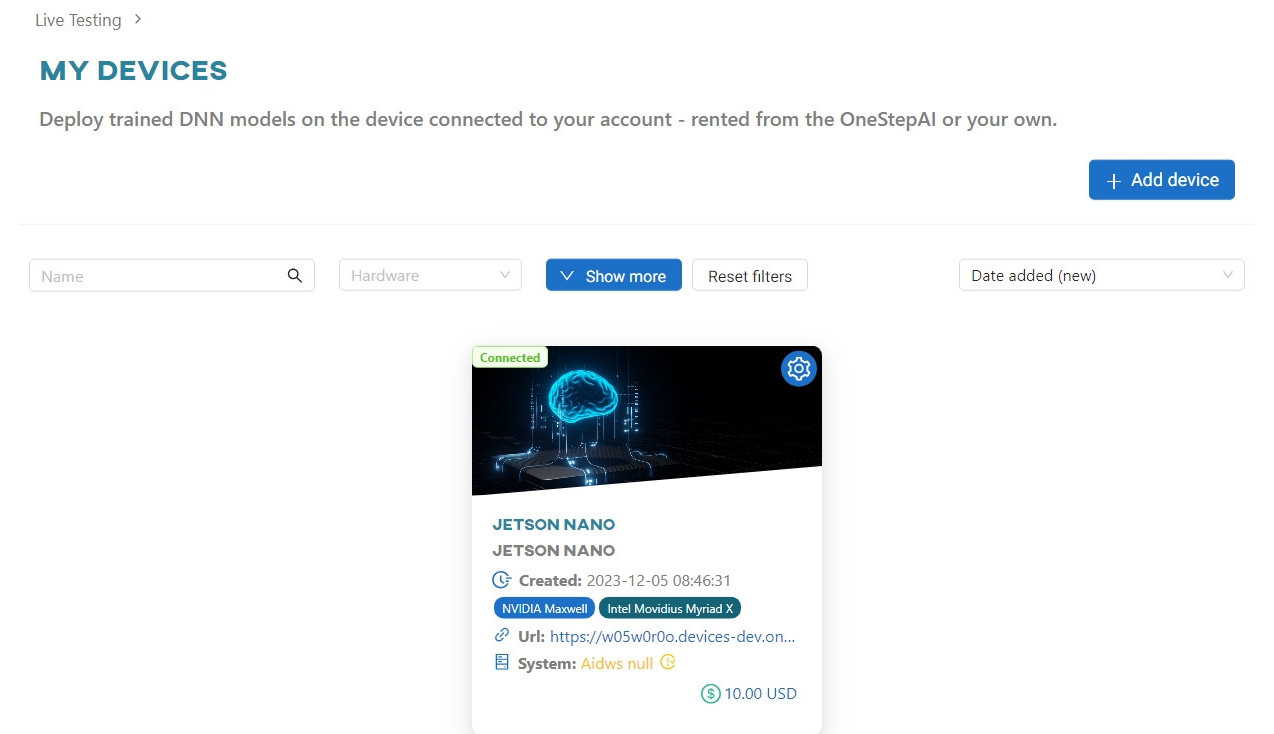
Once registered, the device will change its status to Connected in the Live Testing section of the OSAI app.
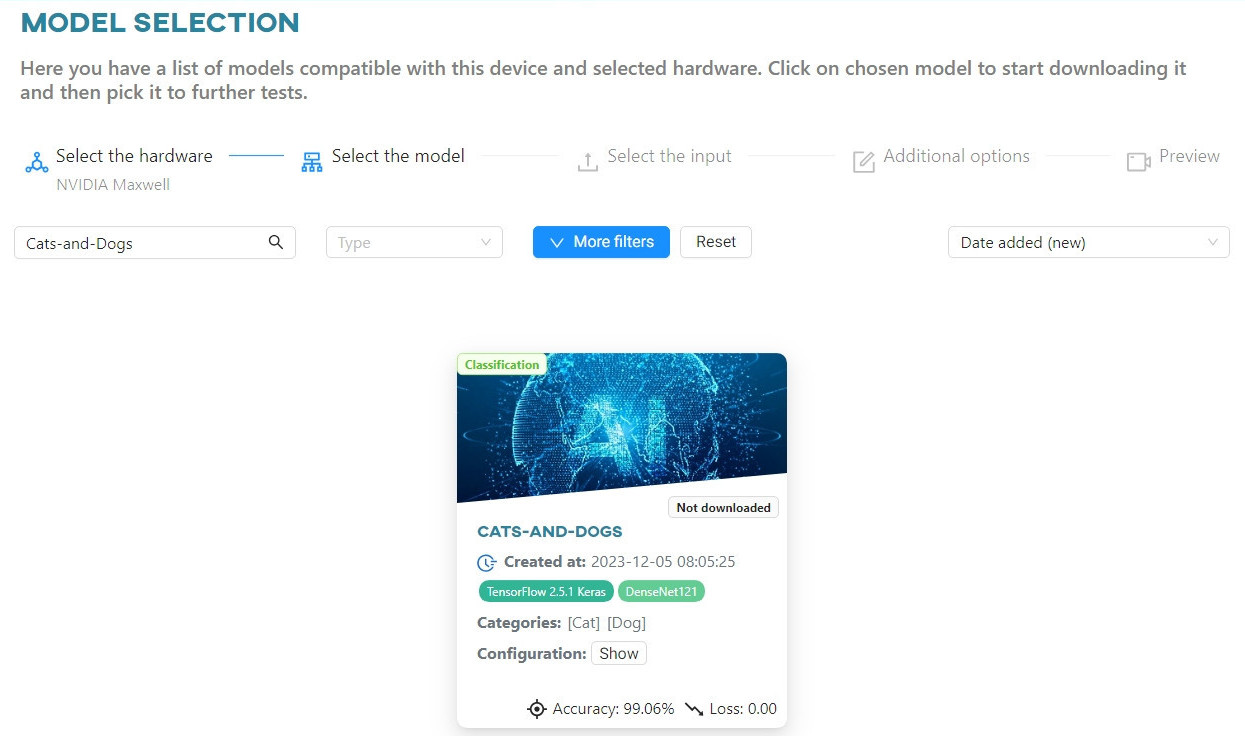
On the homepage of the web app for testing, you will find a list of models that are compatible with the device you have connected. In this case, it is the Cats-and-Dogs model that you have converted earlier.
Select the model to download it to the device's local memory.
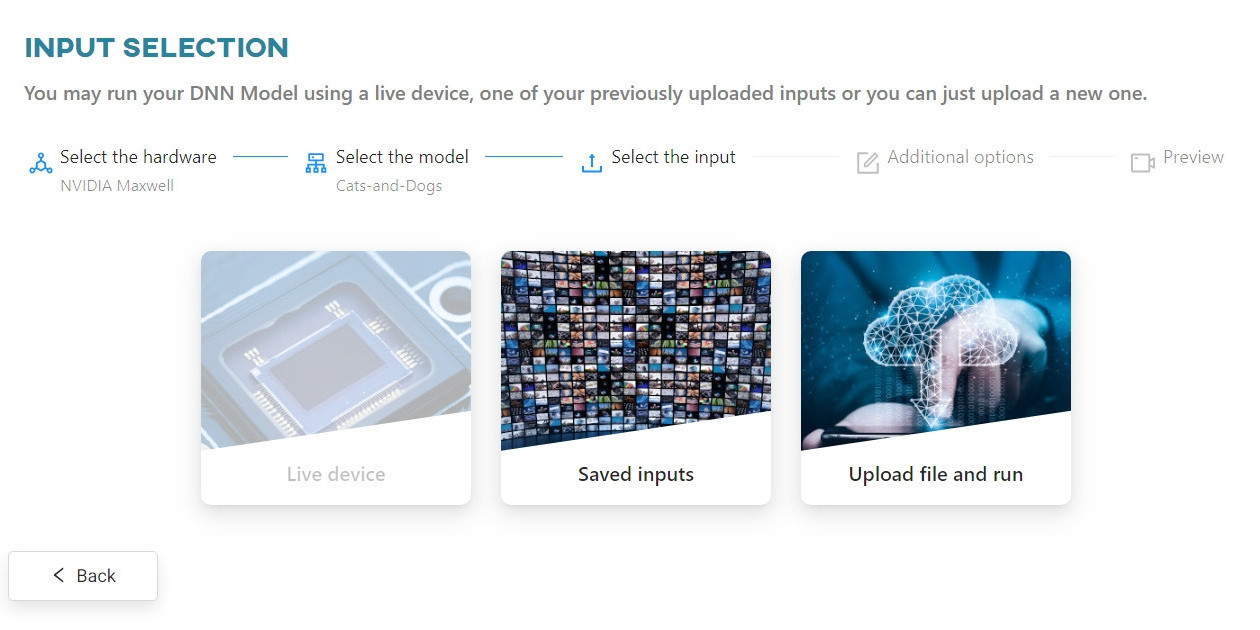
Selecting the model again will take you to the section where you can select the input data required to test the selected model.
#
Load the input data
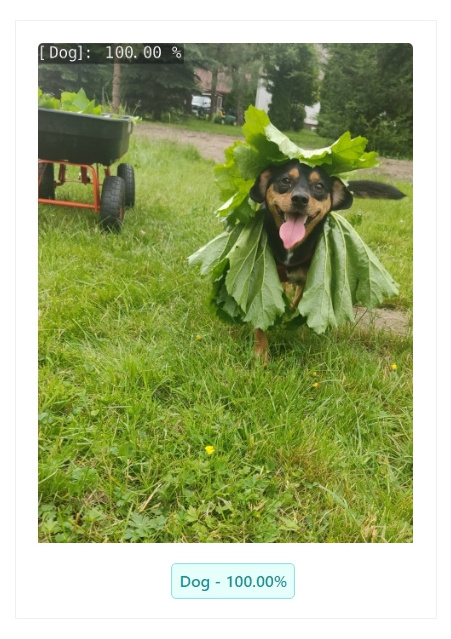
To test the model, use the cat and dog photo you have on your computer. Select Upload File.
Select the image and confirm.

The image will be loaded into the device's local memory and processed by the selected model.
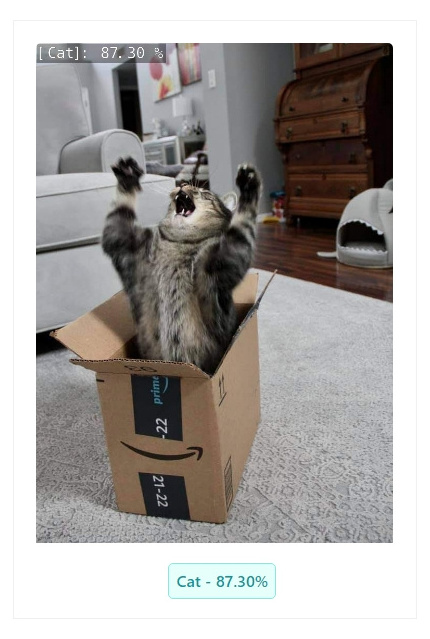
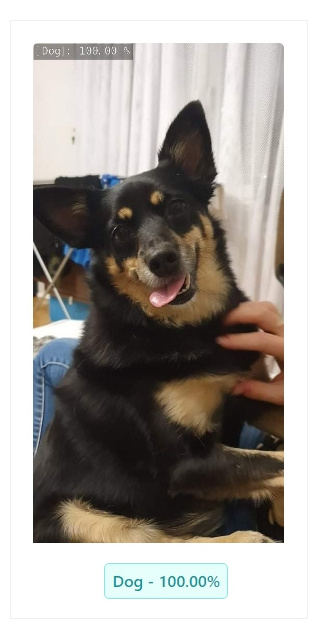
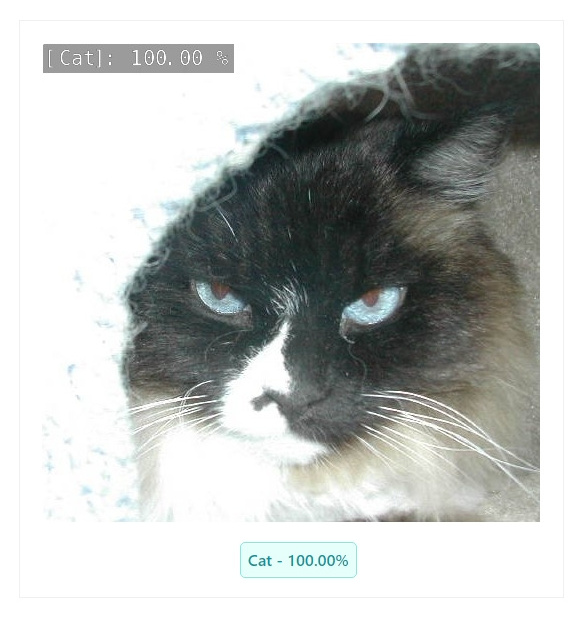
You can now view the test results.
#
Results