#
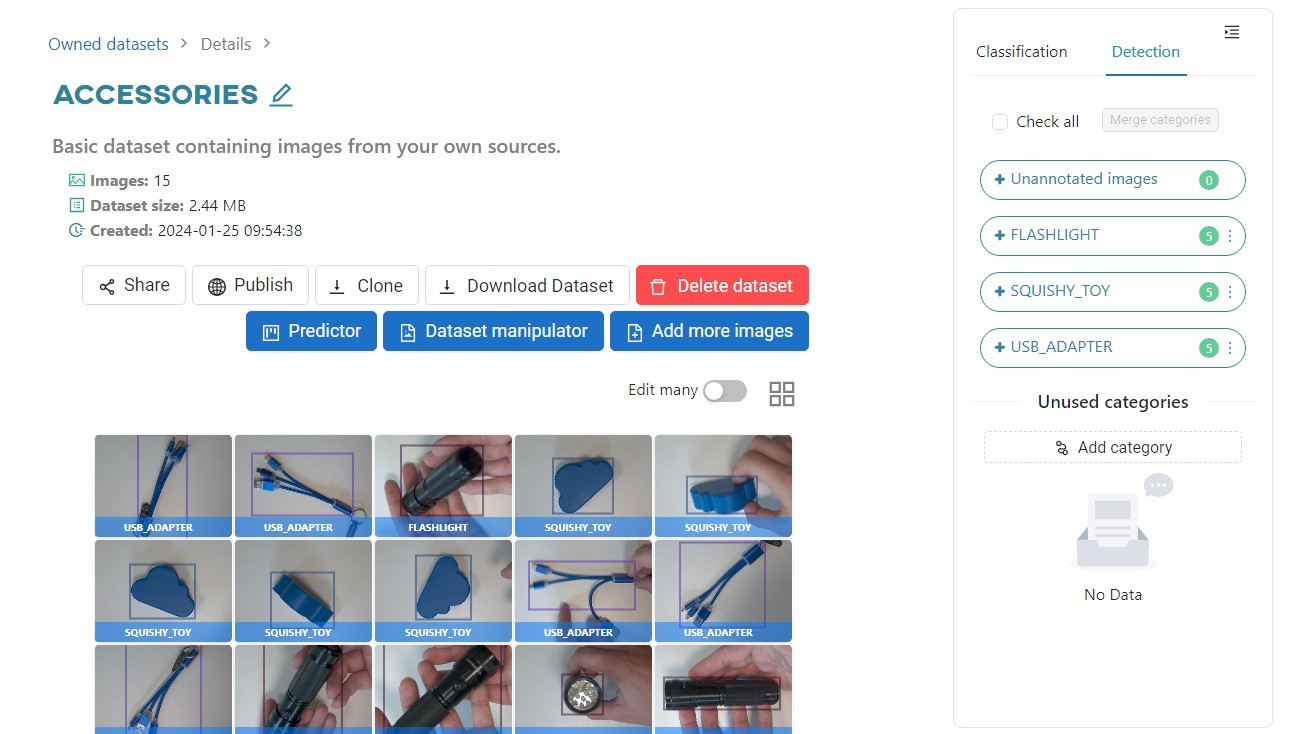
Object detection
Run the object detection process to determine where the objects are located in a given image.
In this case, an additional file with annotations is required for the model's training set. The annotation stores information about the labels describing the objects in the image and possible additional information, depending on the selected standard.
Object Detection tab of the Datasets view. In this section, you should see a bounding box around the objects of interest in each image.
Keep in mind: If there is an object in the photo and you do not select it during training, the model will misread the contents of the photo, which will affect its overall precision (accuracy).
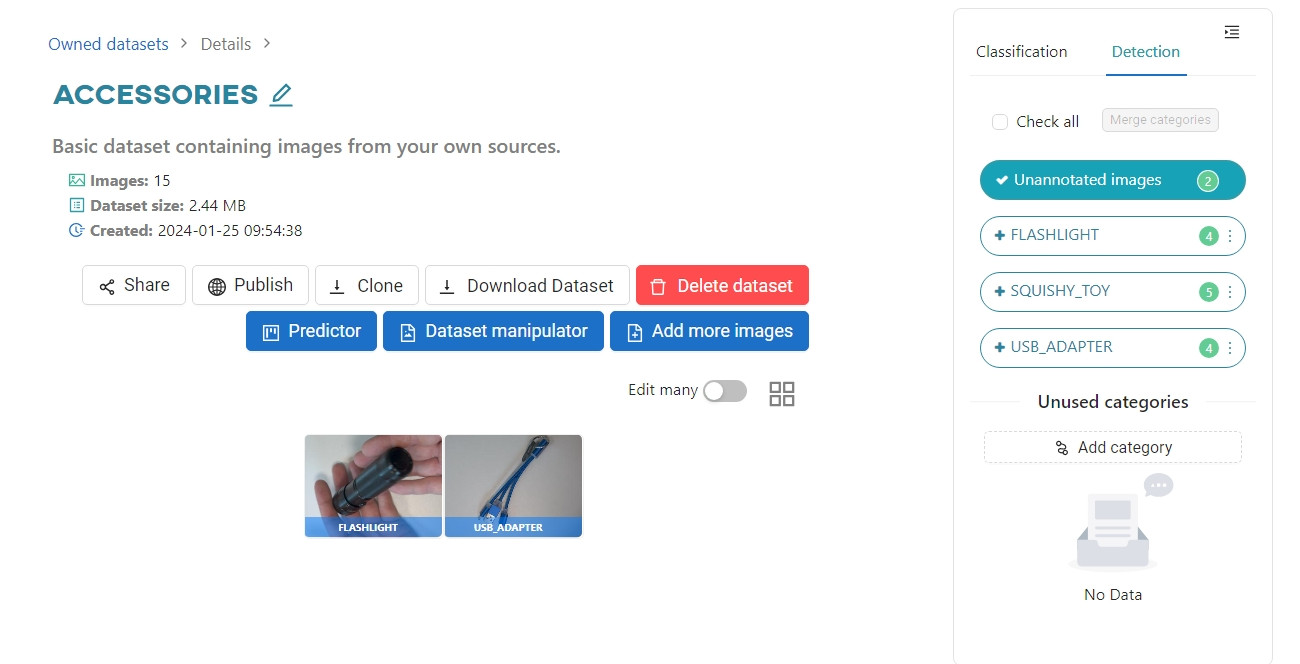
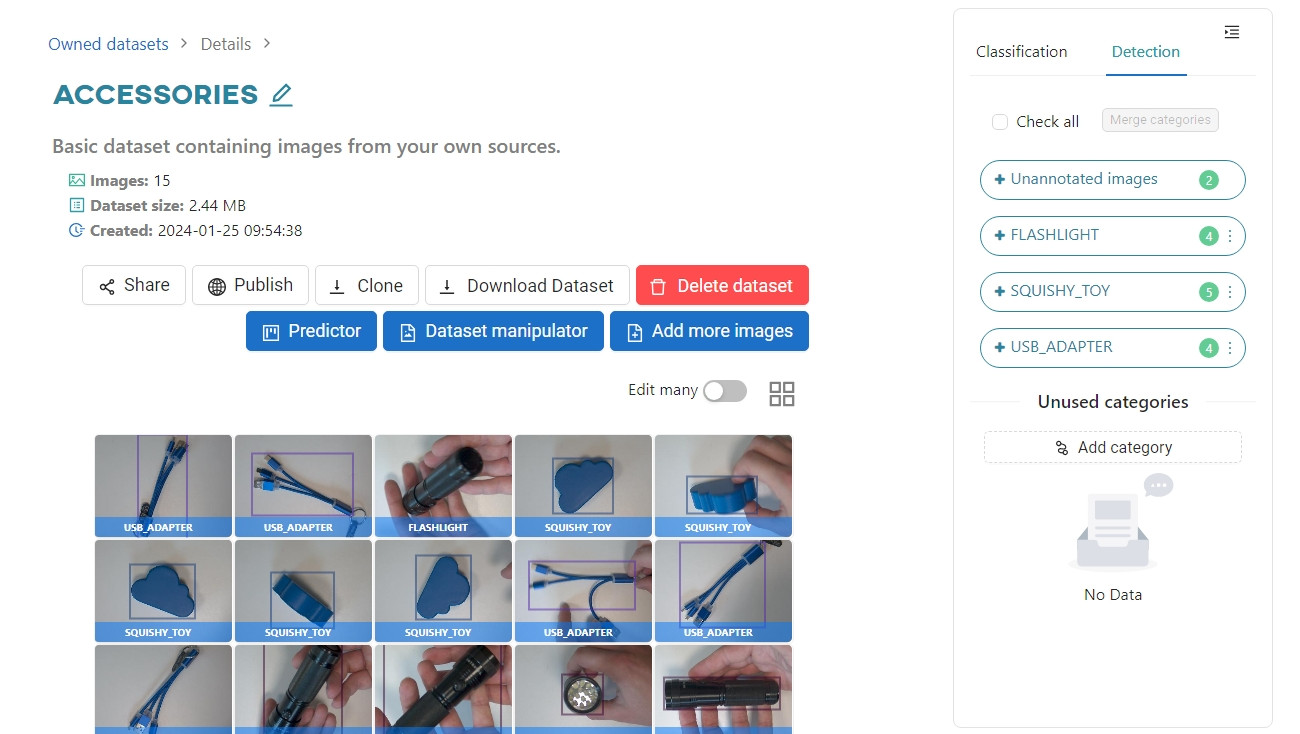
Unannotated images to find all the images without object information. Click on the first one.
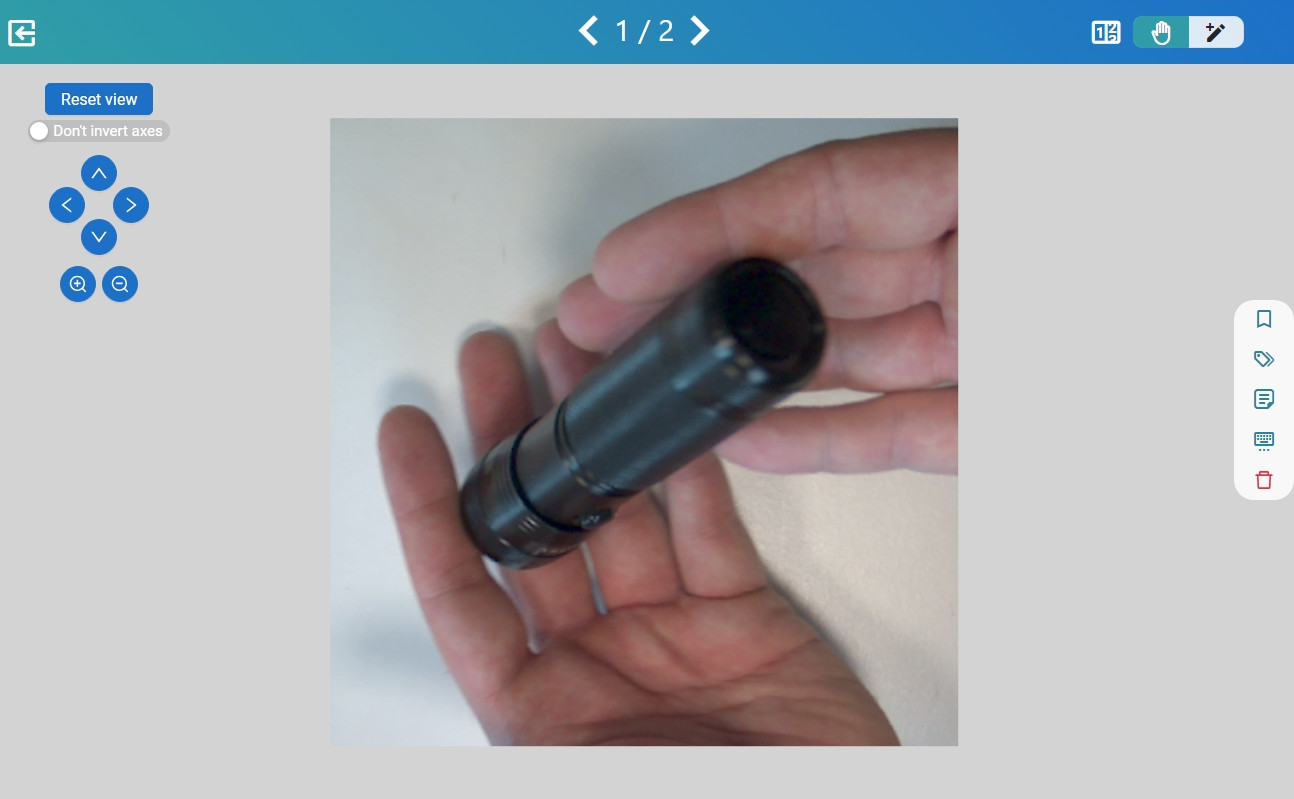

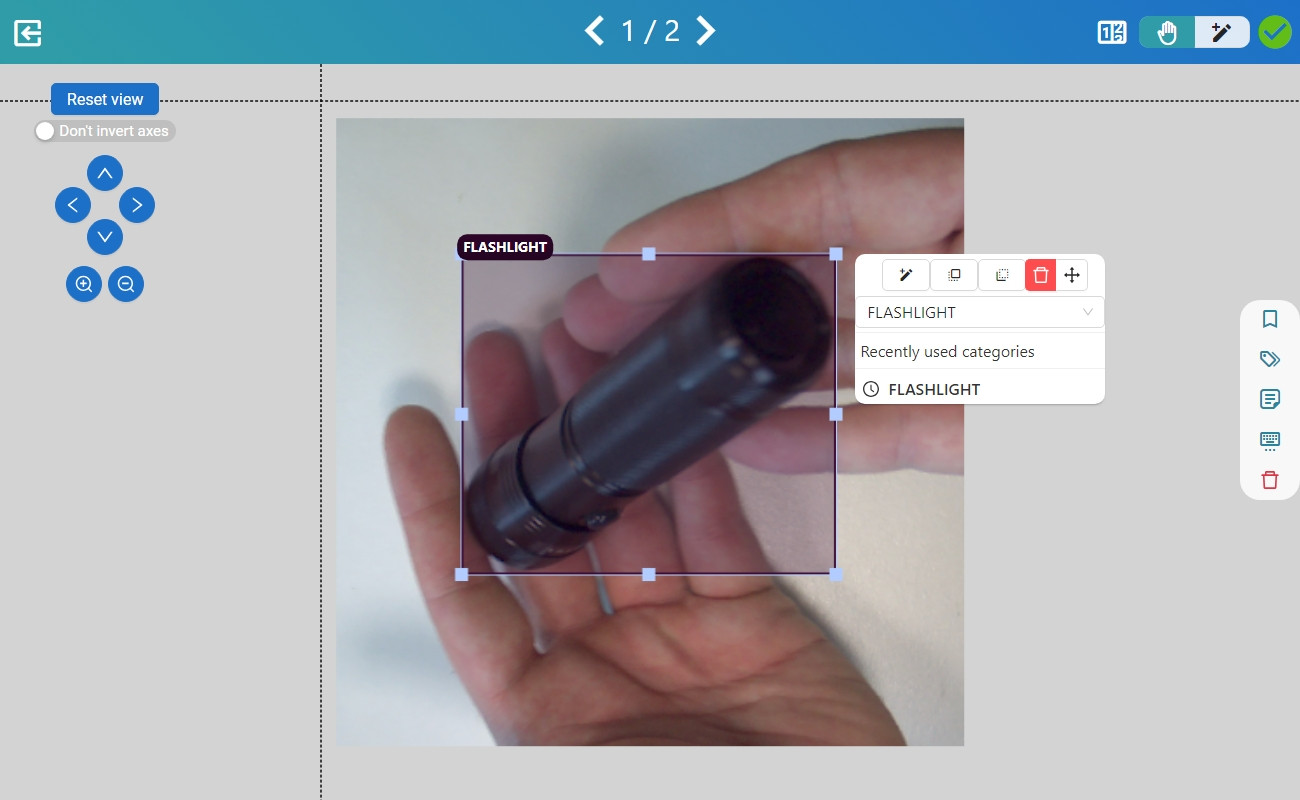
FLASHLIGHT from the pop-up window next to the bounding box. The pop-up window is a simplified view of the right-hand menu.

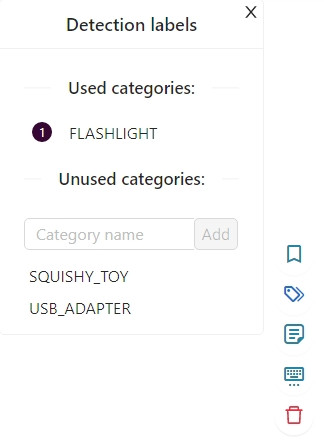
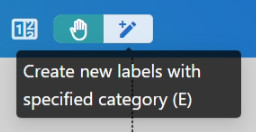
Detection labels button in the right-hand menu or use the E keyboard shortcut to open the detection labels tab (to see all shortcuts, click on the keyboard icon in the right-hand menu).
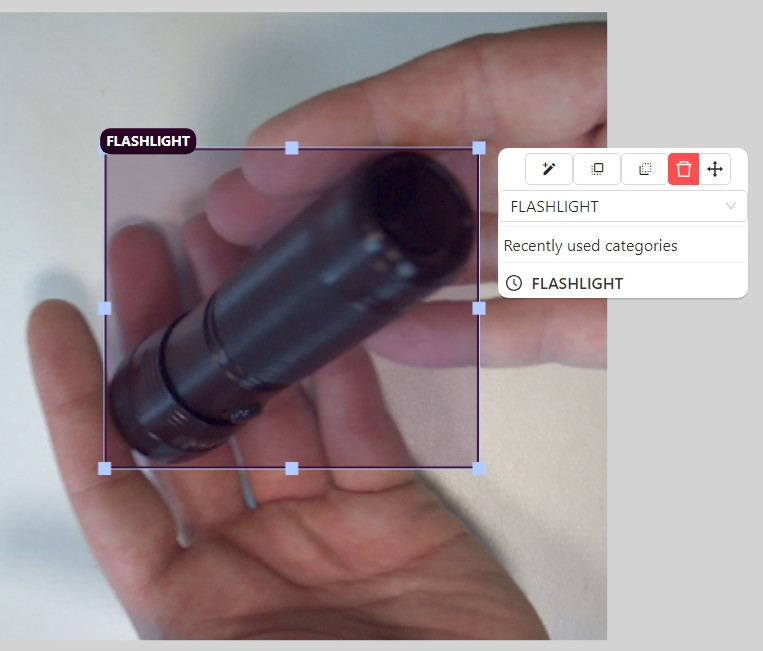
delete key. You can also put the label on the back of the canvas by clicking on the icon next to the trash can button or by right-clicking on the bounding box.
Use the arrows at the top of the page or the A and D keyboard shortcuts to move between images. Go to the next photo.
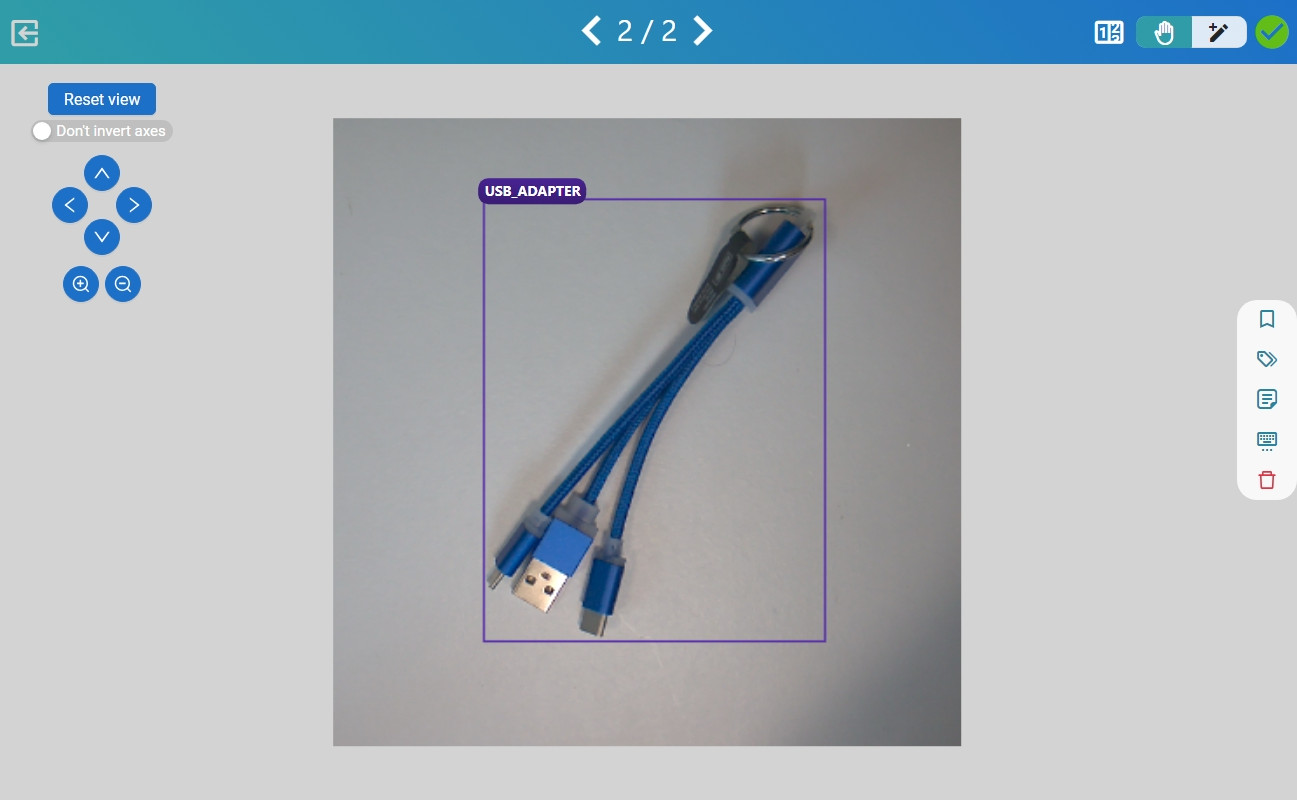
USB_ADAPTER.
H keyboard shortcut.