#
Weather Categorizer
In this tutorial, you will build a classifier model to recognize weather in photos and video frames. Such a model can provide individuals, organizations, and communities with accurate weather forecasts, allowing them to plan, prepare and make informed decisions based on weather patterns. It can have wide-ranging applications across multiple sectors and contribute to improved safety, efficiency, and resource optimization in many industries.
To create the model, use the publicly available Weather Image Recognition and Weather Classification datasets.
#
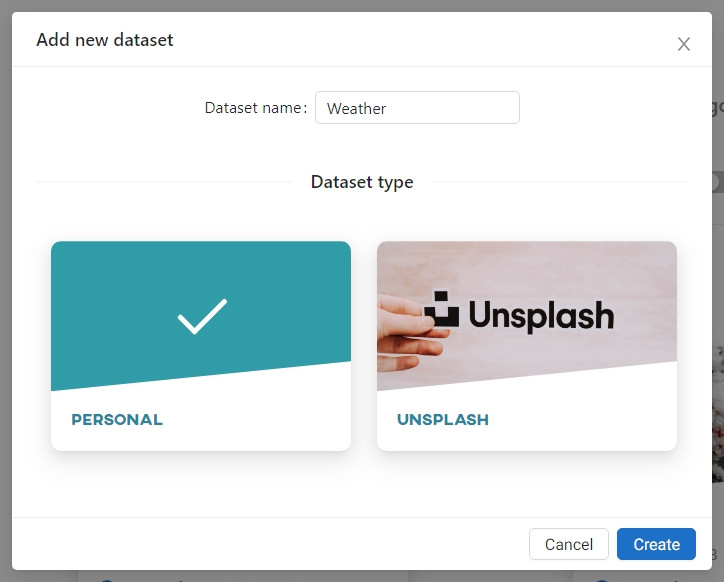
Adding the datasets
Go to the Owned datasets and click Add new dataset. Enter a dataset name, select Personal dataset type, and click Create.
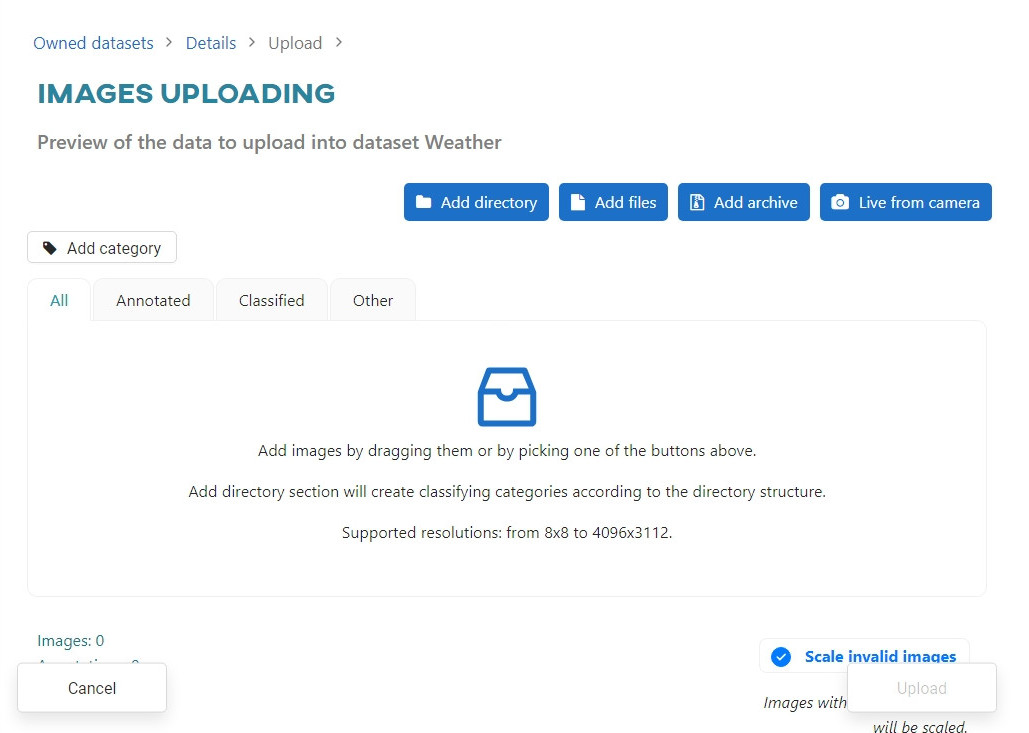
Both datasets have been saved in a .zip archive. Select Add archive.
Once the archive is loaded, click Upload.
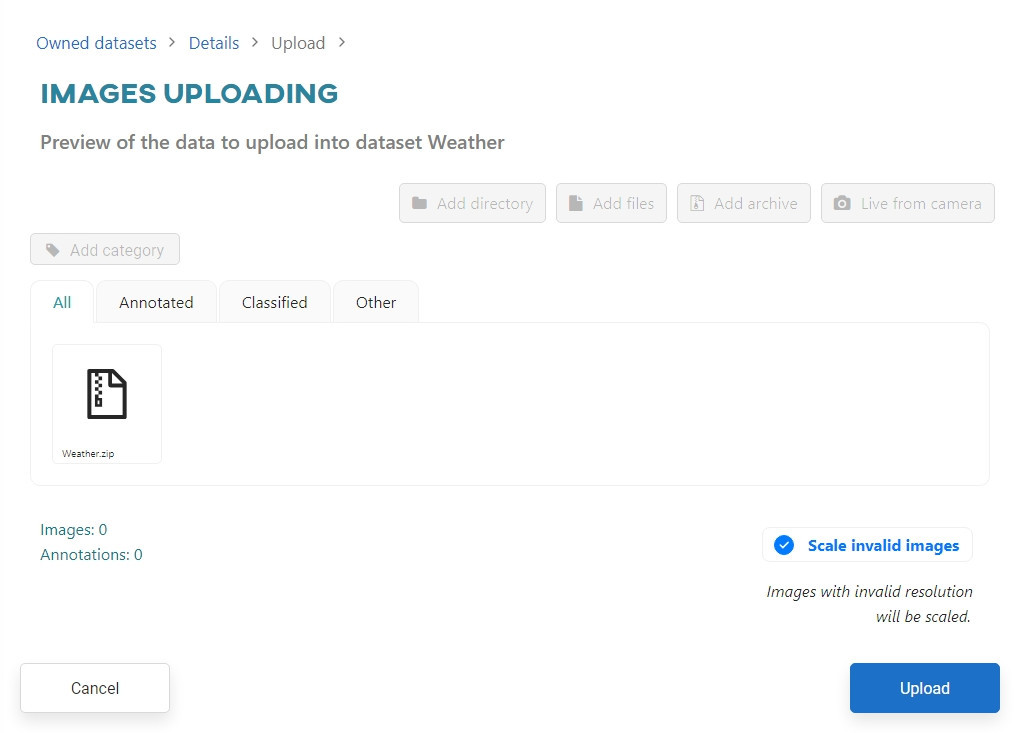
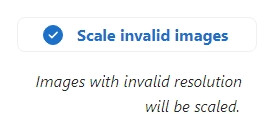
Before uploading, decide what the application should do if the size limit is exceeded. For the purposes of this tutorial select Scale invalid images.
The uploading task is performed in the background. You can monitor the progress in the Dashboard or Datasets view.

After uploding the first dataset, follow the same steps to upload the second one.
#
Creating the model
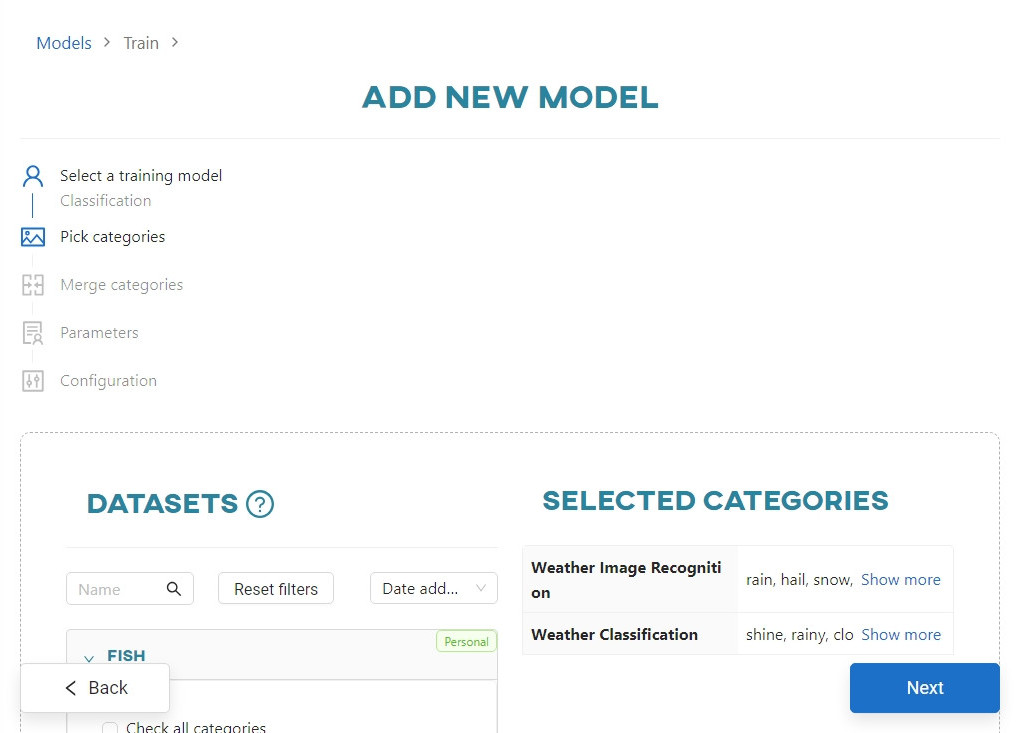
Go to the Models section and click Add new model. Select Classification.

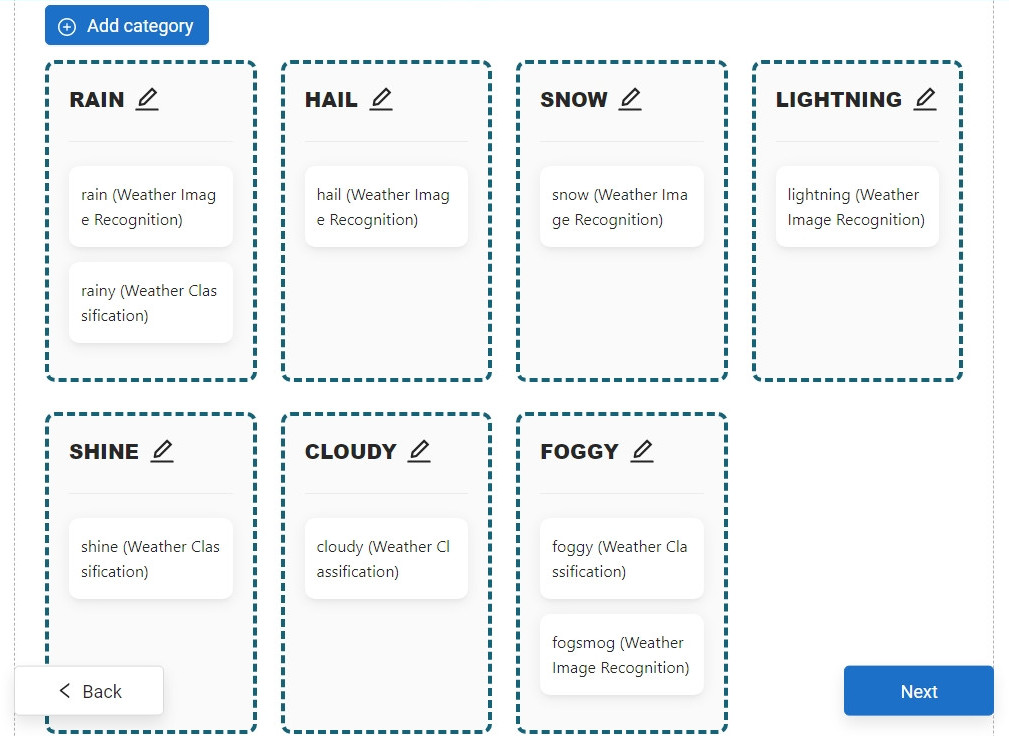
From the Weather Image Recognition dataset select snow, fogsmog, hail, rain, and lightning categories, and from the Weather Classification dataset select cloudy, rainy, shine and foggy.
In the merge categories step, move rainy category to the RAIN bucket and fogsmog to the FOGGY bucket. Delete RAINY and FOGSMOG buckets. Click Next to continue.
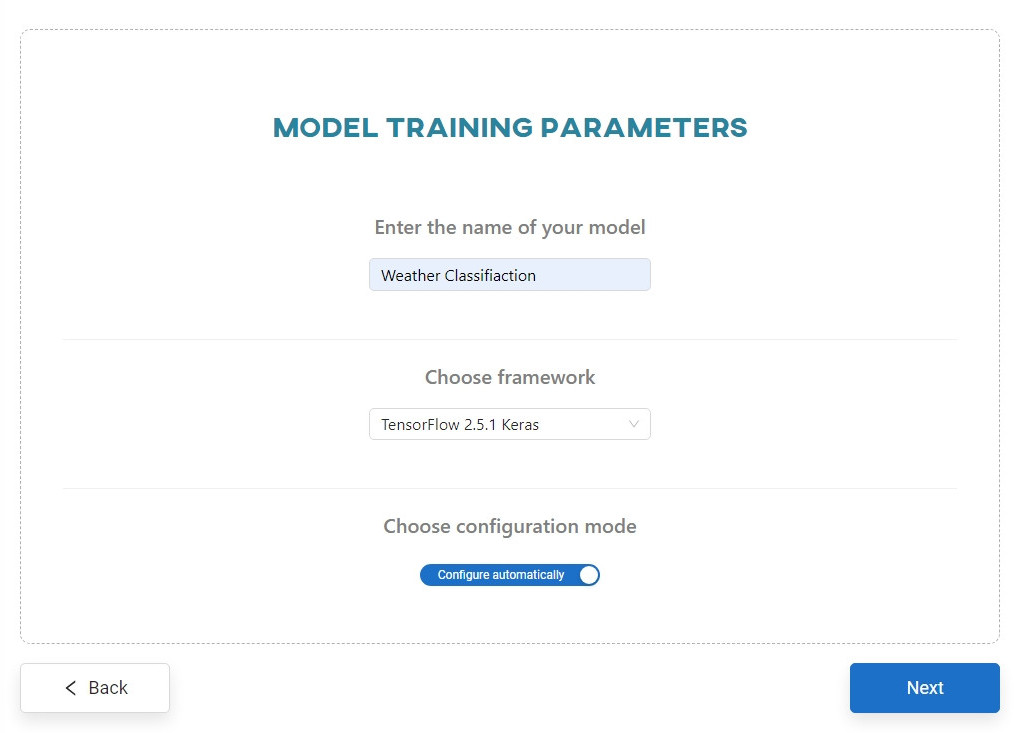
Enter the model name and select the Configure automatically option. Click Next.
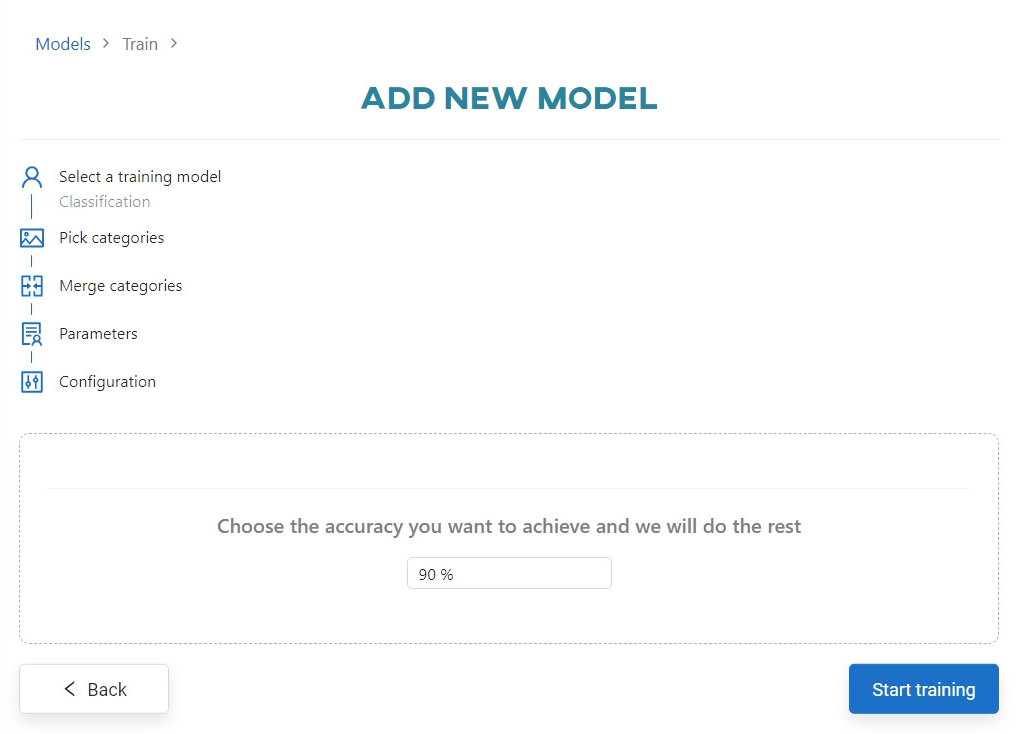
Set the accuracy to 90%. Click Start training.
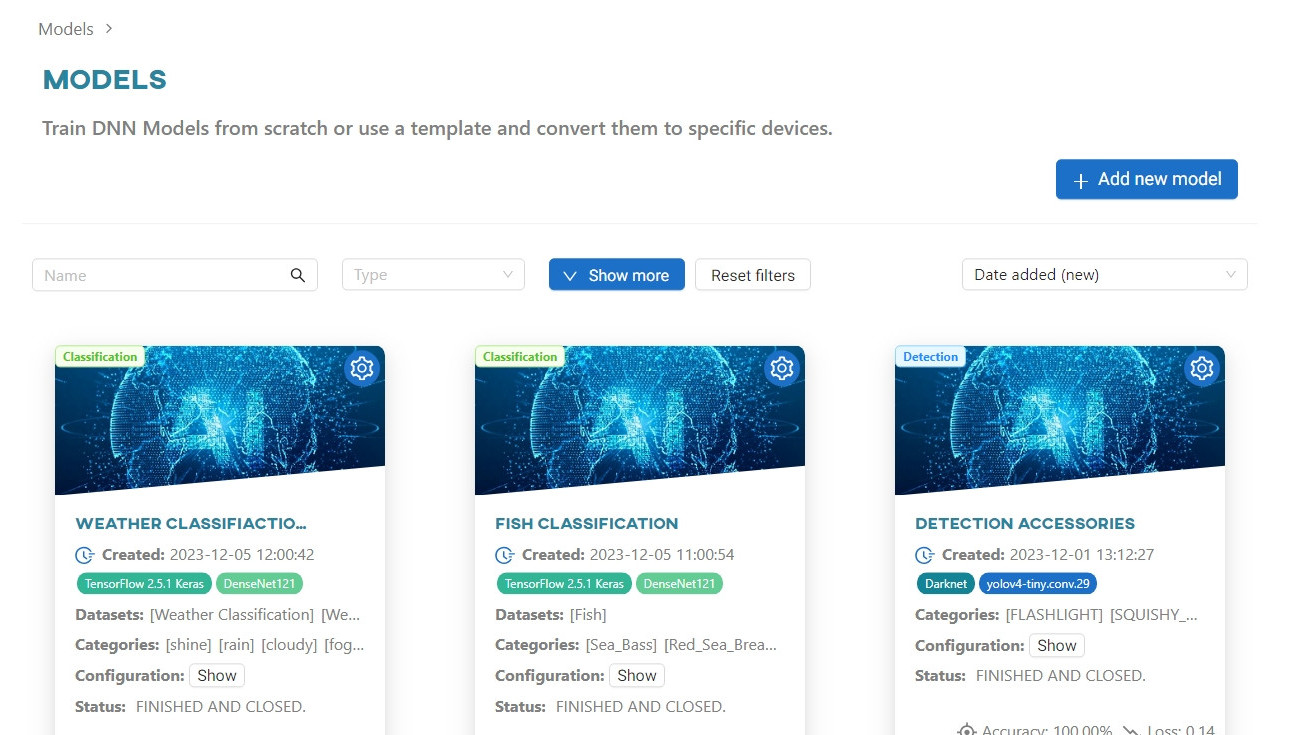
You can view the training progress in the Dashboard view, in the Notifications tab, or in the Models section.
#
Testing your idea
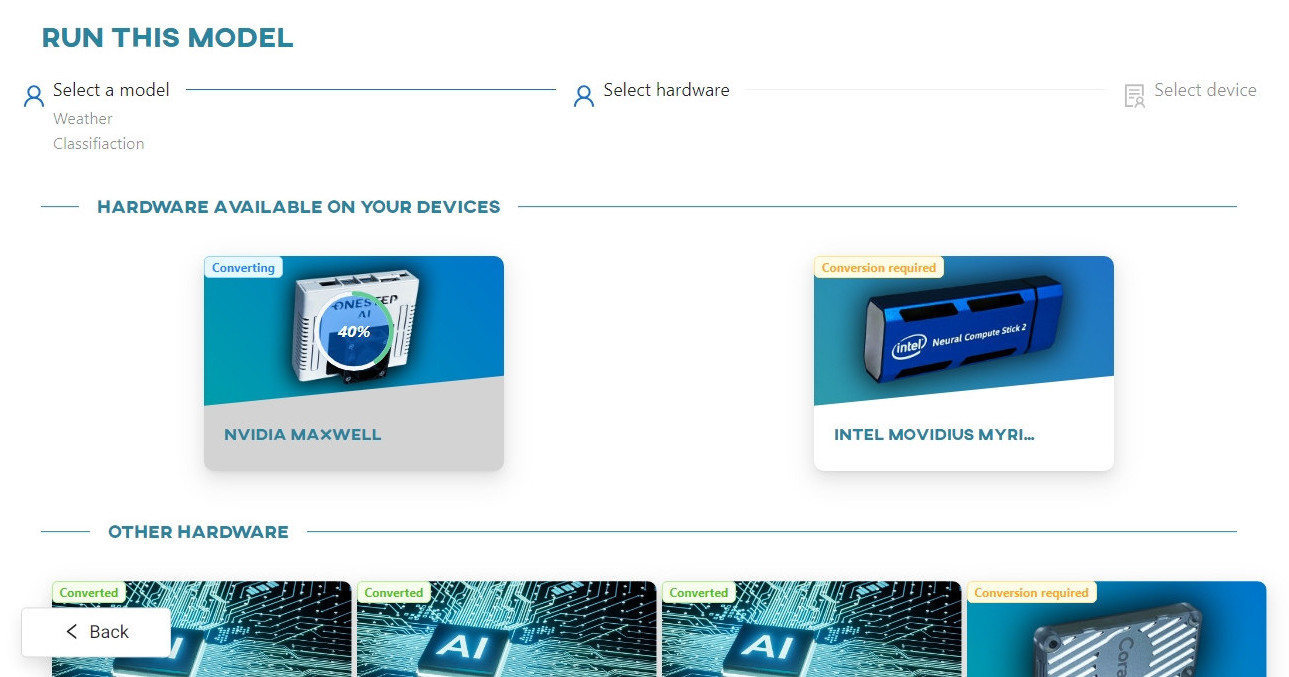
When the training is complete, go to the Models section and click on the Weather Classification model.
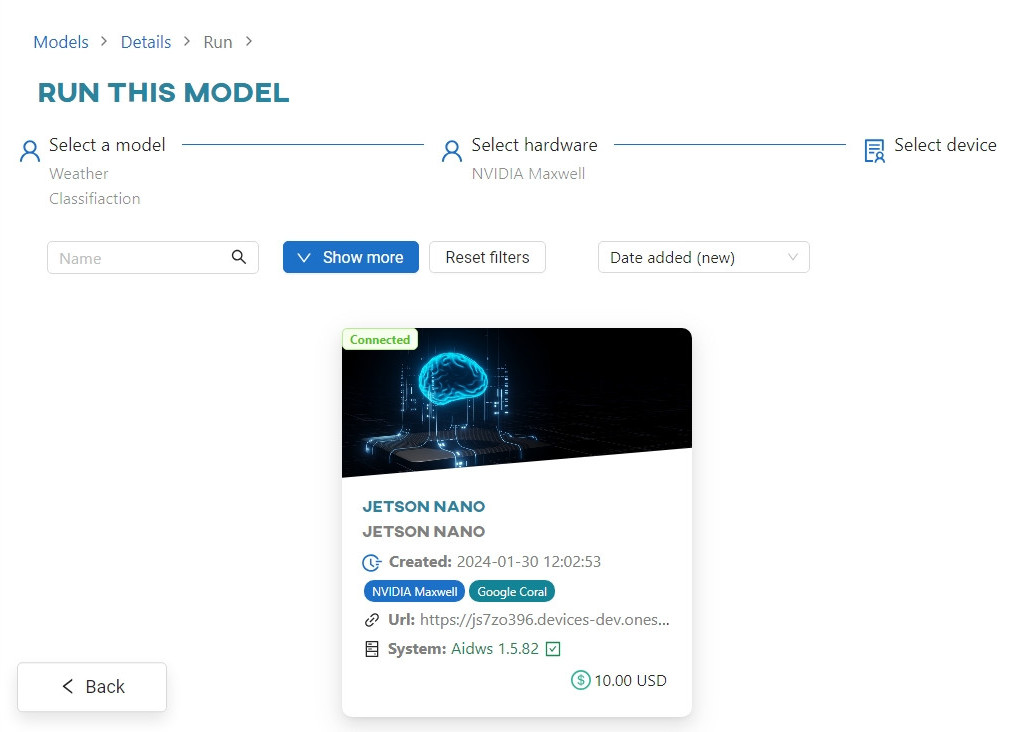
In the Conversion section, select the NVIDIA MAXWELL architecture.
Once converted, click on the device to connect to it.
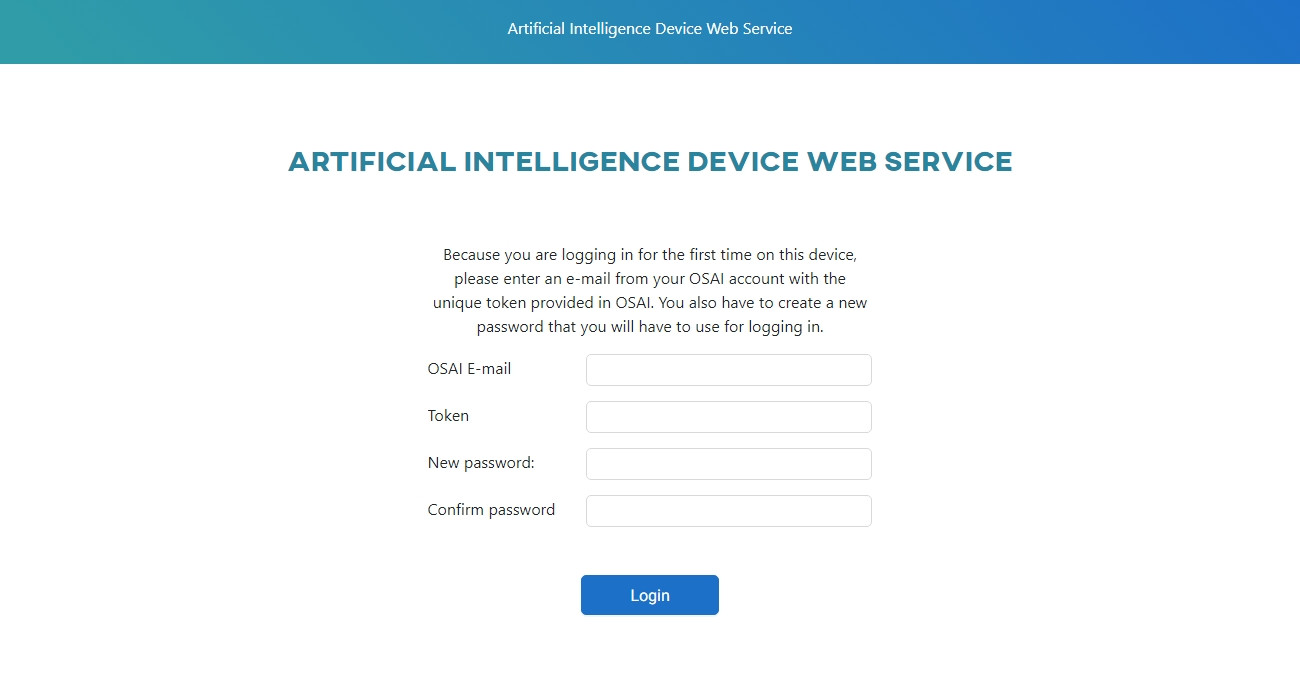
Copy the registration code to the clipboard, then click Copy token and go to device. This will open a new tab in your browser with a web app that is now using your local device.
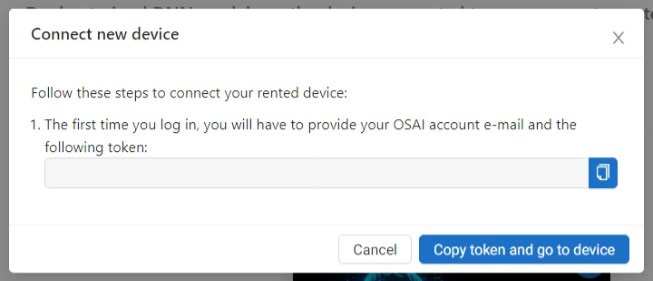
Enter your e-mail, paste your registration code into the Token field, and create a password. Once registered, the device will change its status to Connected in the Live Testing section of the OSAI app.
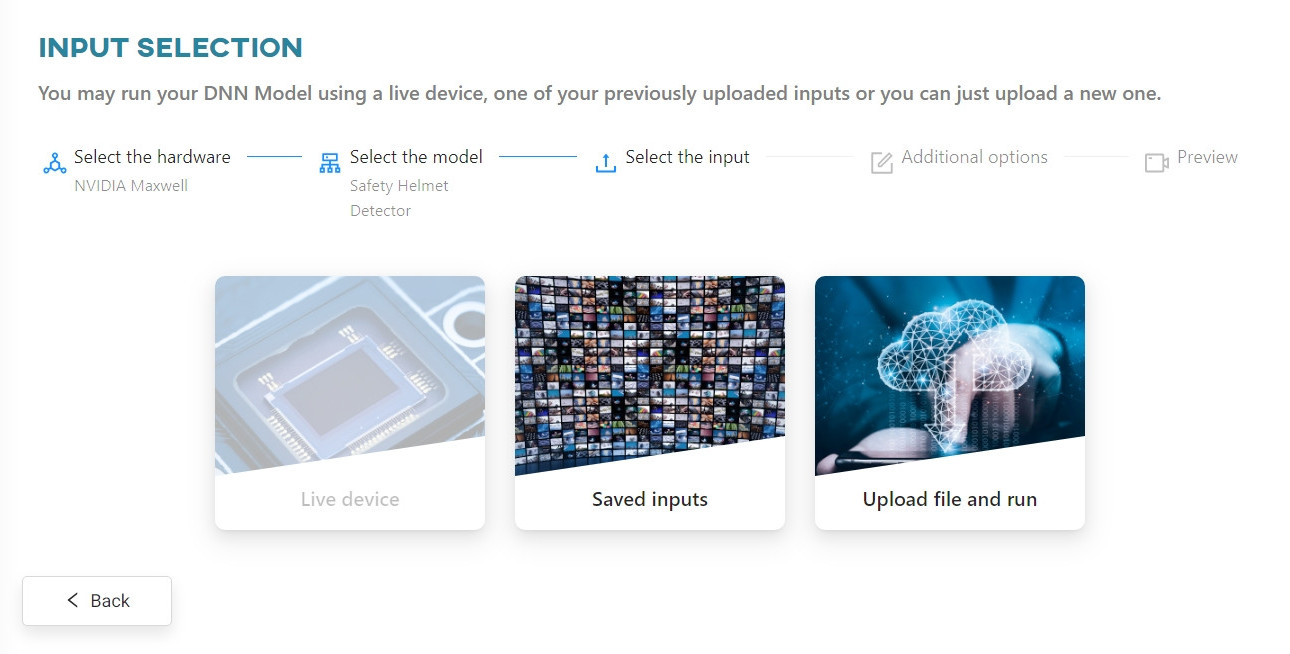
Click on the Weather Classification model to download it to the device's local memory.

Click the Upload File button. You can upload either a photo or a video. For the purposes of this tutorial, we will first use video files.
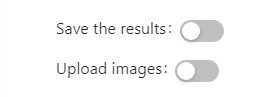
After uploading your video file, you can decide whether you want to save the results and/or upload images from video to a new or existing dataset. Click Next to continue.
Once the video has been processed by the web app, you can view the results.
#
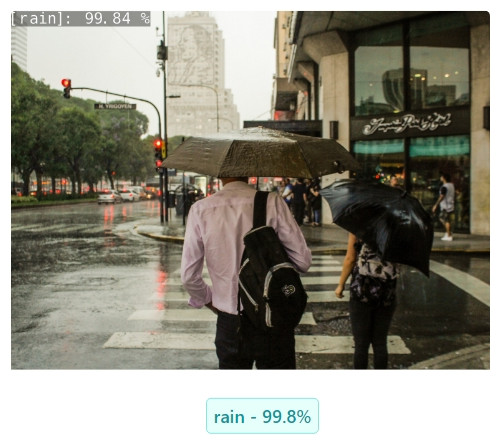
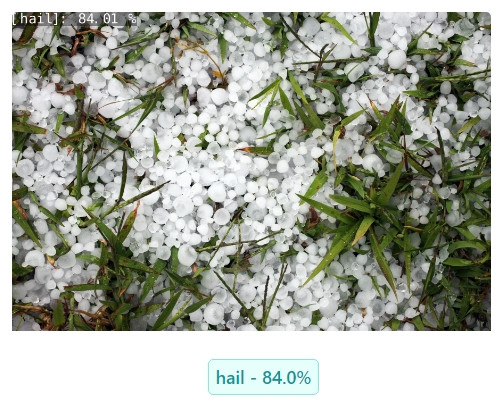
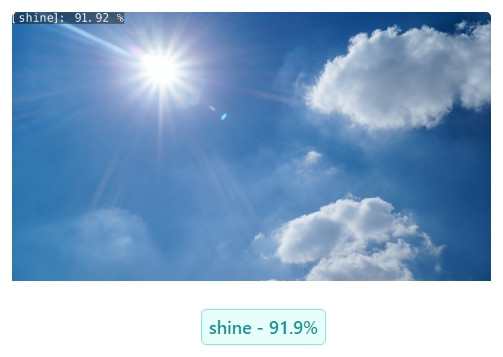
Results
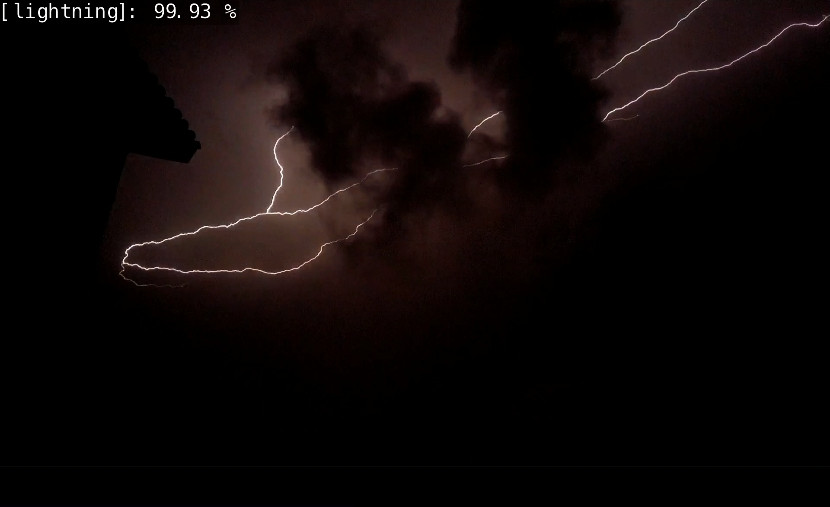
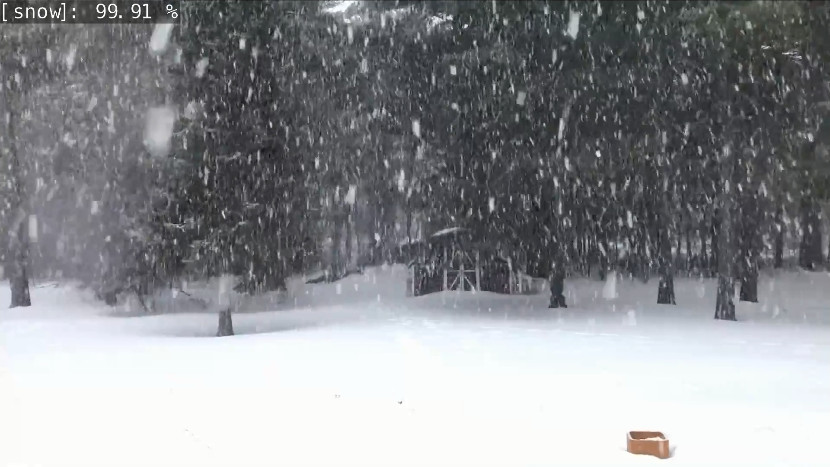
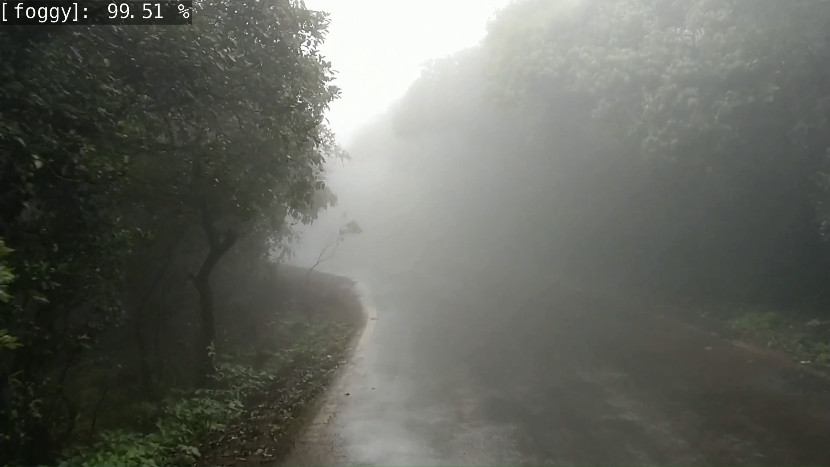
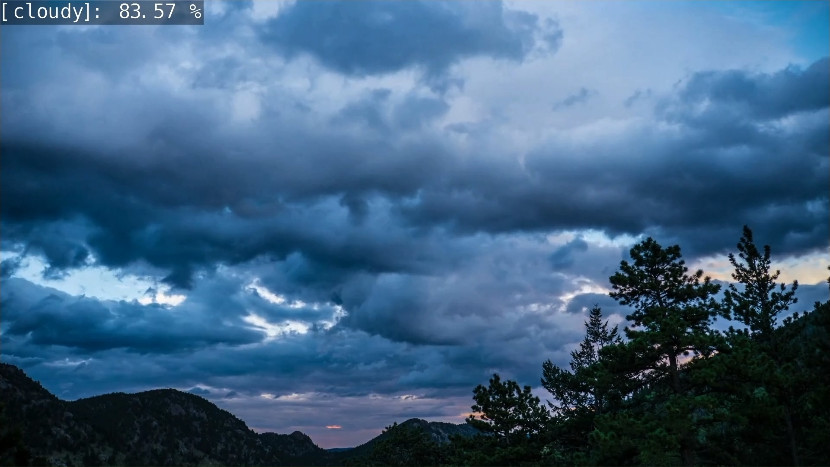
Now, let's test the model on images: