#
Crowd Detector
Crowded spaces are a ubiquitous part of our daily lives. From bustling city streets to lively stadiums and public gatherings, managing and understanding crowds is crucial for the following:
Public safety and security - in crowded public areas such as airports, stadiums, or transportation hubs, the ability to detect and monitor crowds is essential to ensure public safety. A crowd detection model can help identify and analyze crowd dynamics and detect abnormal behavior.
Crowd management - understanding crowd patterns and behaviors is crucial for effective crowd management. A detection model can provide insights into crowd density, flow, and congestion, enabling authorities to optimize crowd movement, allocate resources, and implement appropriate crowd control measures to prevent overcrowding.
Event planning and operations - during large-scale events or gatherings, organizers can use crowd detection models to assess crowd size, anticipate attendance trends and manage logistics accordingly. By accurately estimating crowd size and behaviors, event planners can ensure appropriate venue capacity, sufficient infrastructure, and a better visitor experience.
And more!
In this tutorial, you will build a detection model that can detect crowds. We will use the Person (Group) dataset from the Open Images Dataset. To learn how to download them click here.
#
Creating the model
After uploading the dataset, go to the Models section and click Add new model. Select Detection.

Select the dataset you want to use to train the model.
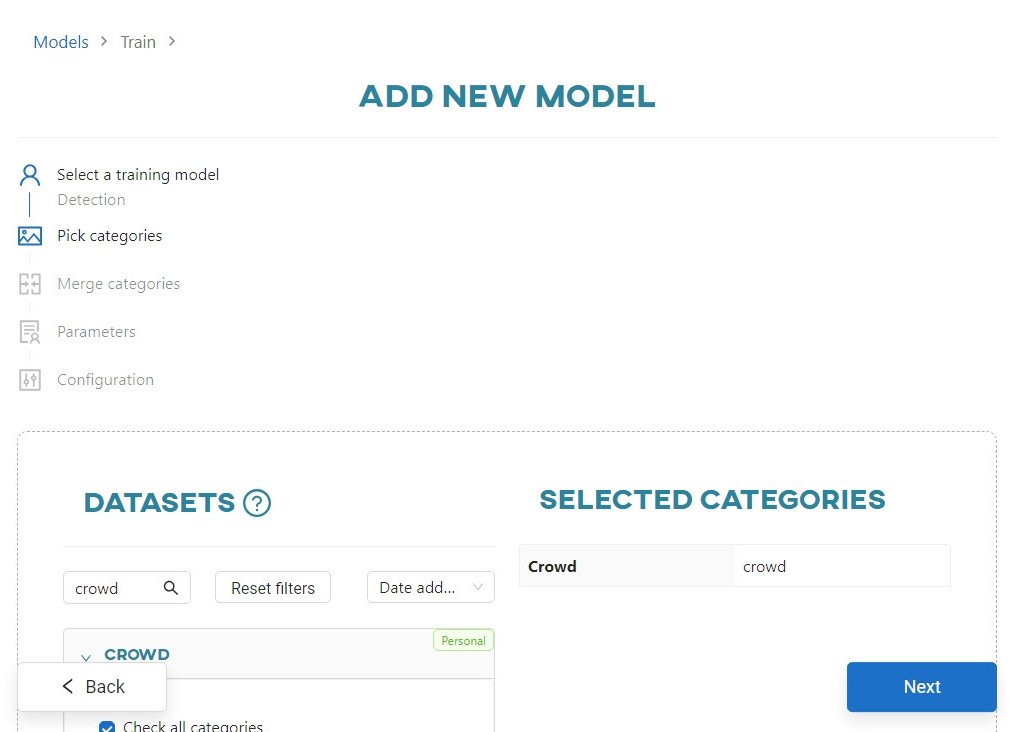
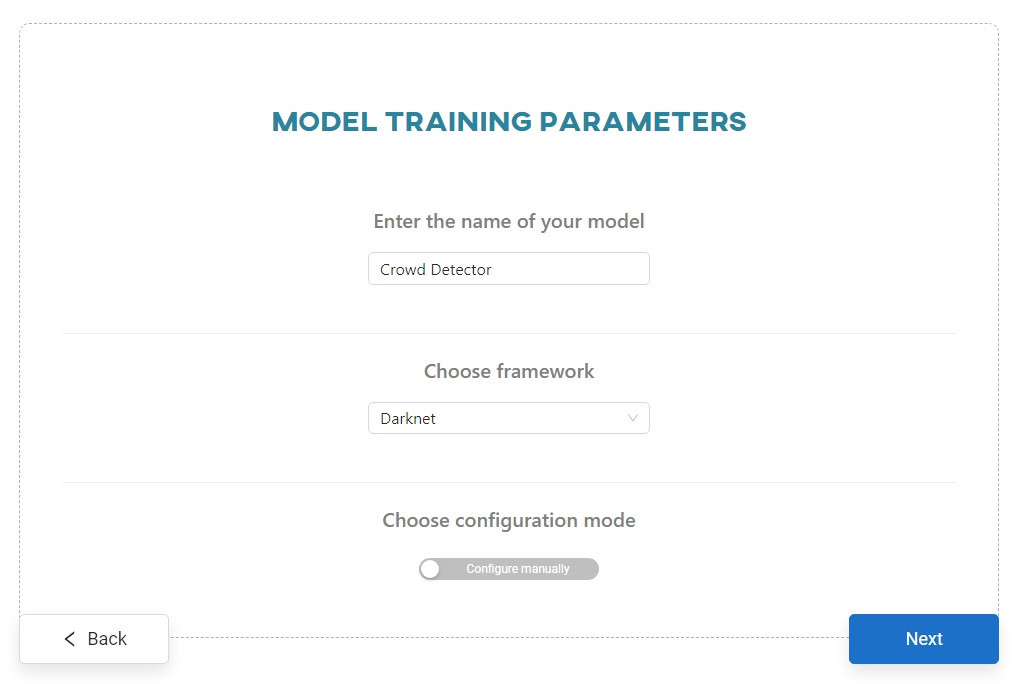
Skip the merge categories step and click Next. Enter the name of your model, select the Darknet framework and enable the Configure manually option.
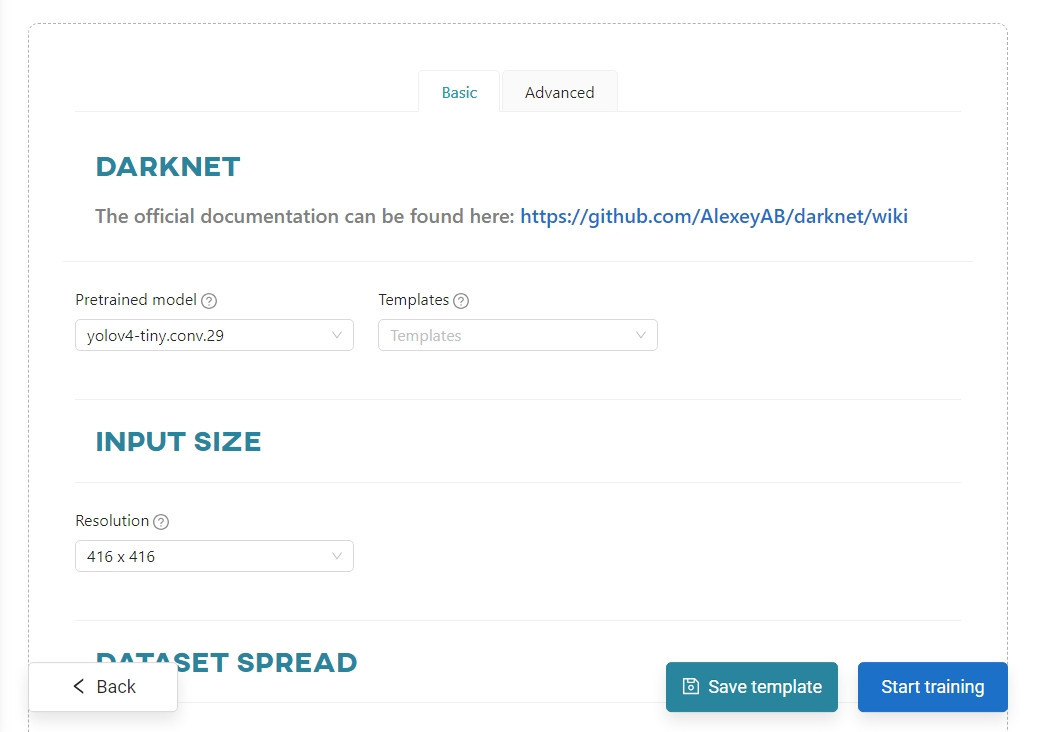
Change the pretrained model to yolo4-tiny.conv.29 and click Start training. You can view the training progress in the Dashboard view, in the Notifications tab, or in the Models section.
#
Testing your idea
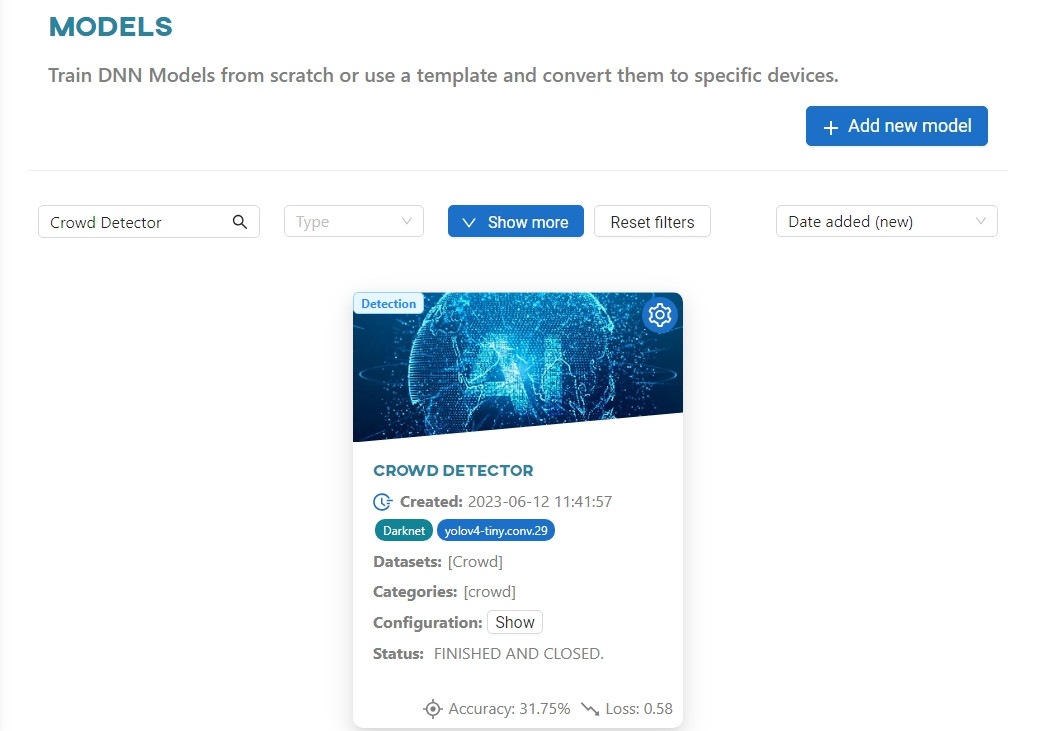
When the training is complete, go to the Models section and click on the Crowd Detector model.
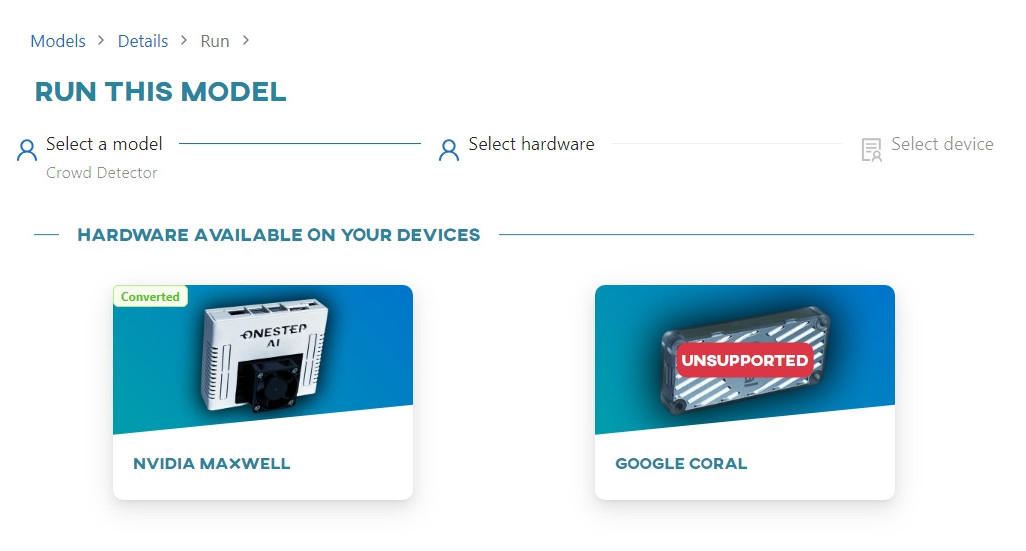
Select the hardware you want to use, click on the tile to convert.
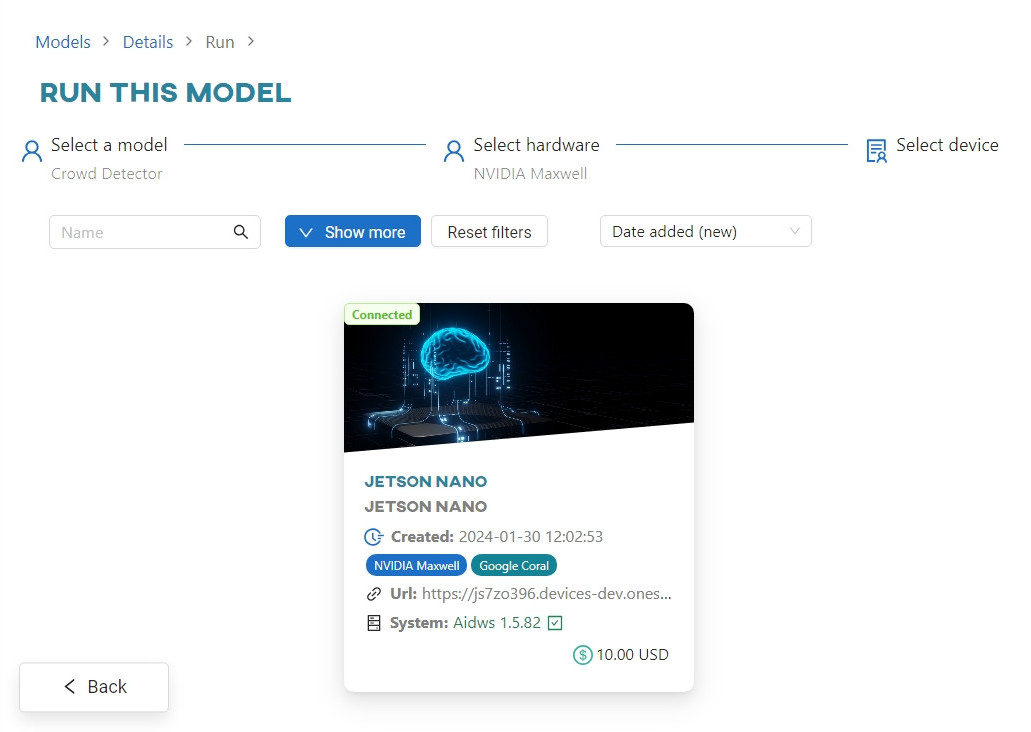
Once converted, click on the device to connect to it.
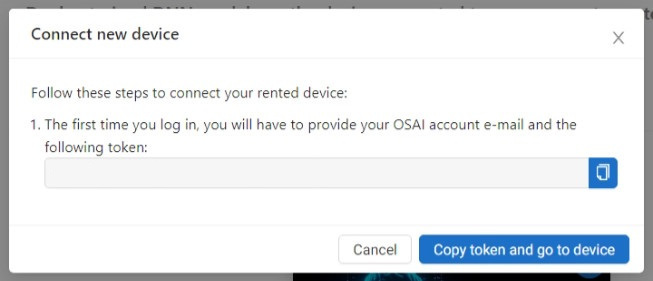
Copy the registration code to the clipboard, then click Copy token and go to device. This will open a new tab in your browser, where you will find a web app that is now using your local device.
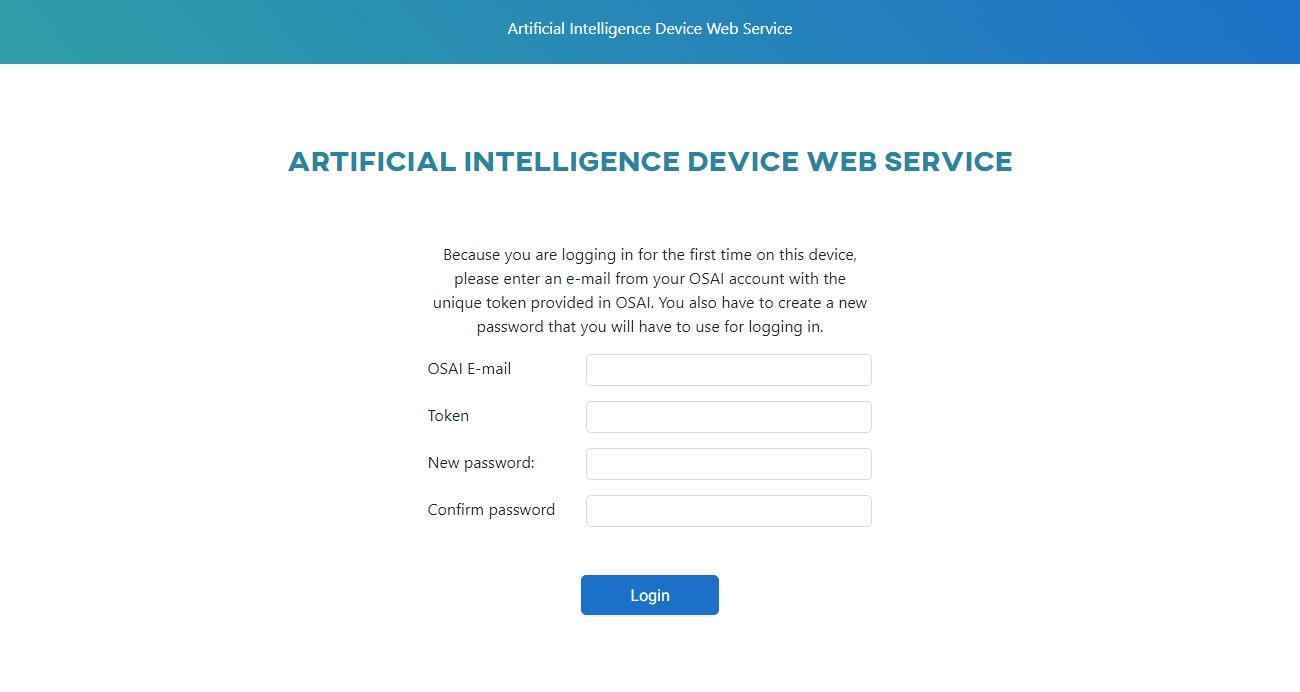
Paste your registration code into the Token field, and create a password. Once registered, the device will change its status to Connected in the Live Testing section of the OSAI app.
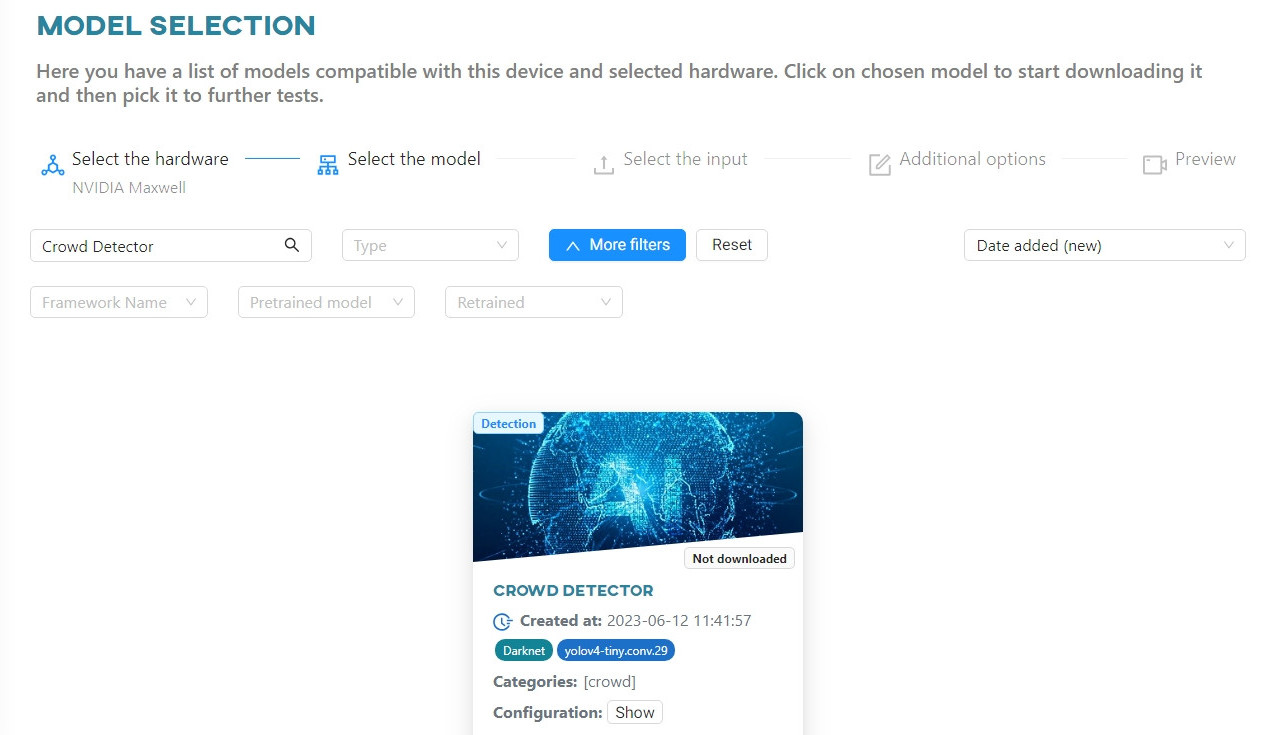
Select the Crowd Detector model. To download it to the device's local memory, click on the model tile.
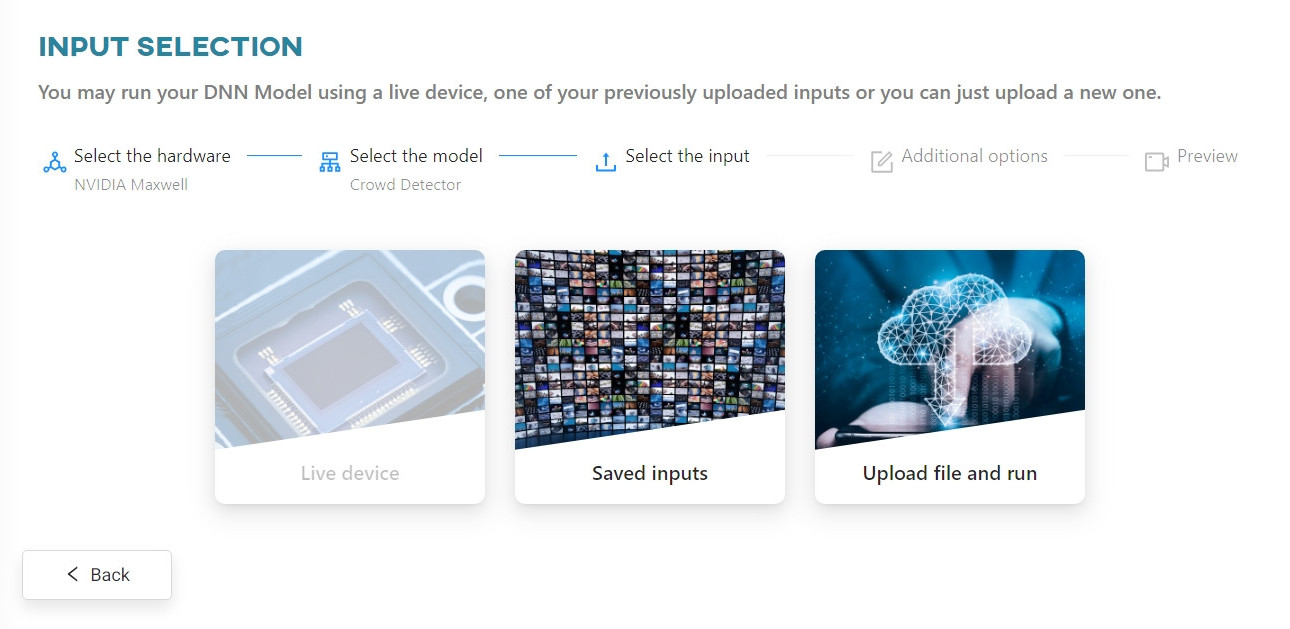
Click the Upload File button. You can upload either a photo or a video. For the purpose of this tutorial, we will use video files.
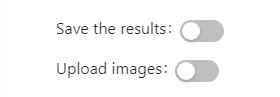
After uploading your video file, you can decide whether you want to save the results and/or upload images from video to a new or existing dataset. Click Next to continue.
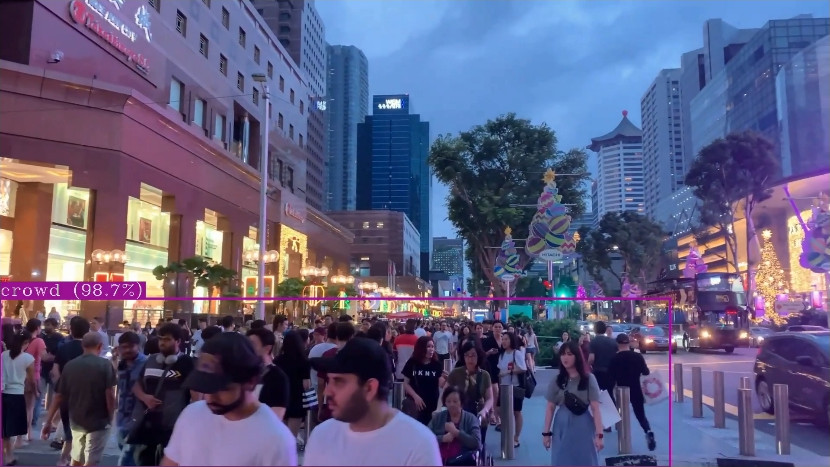
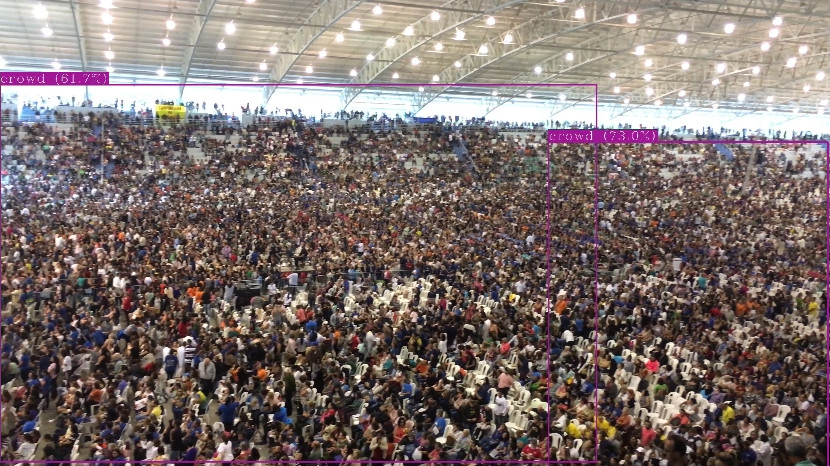
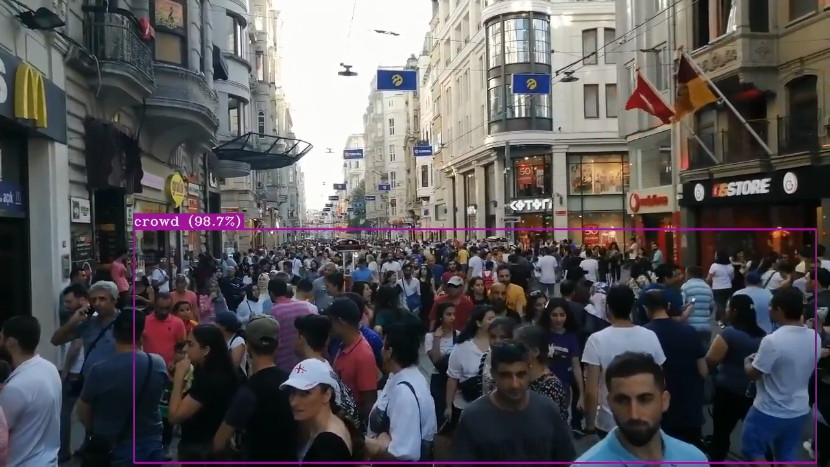
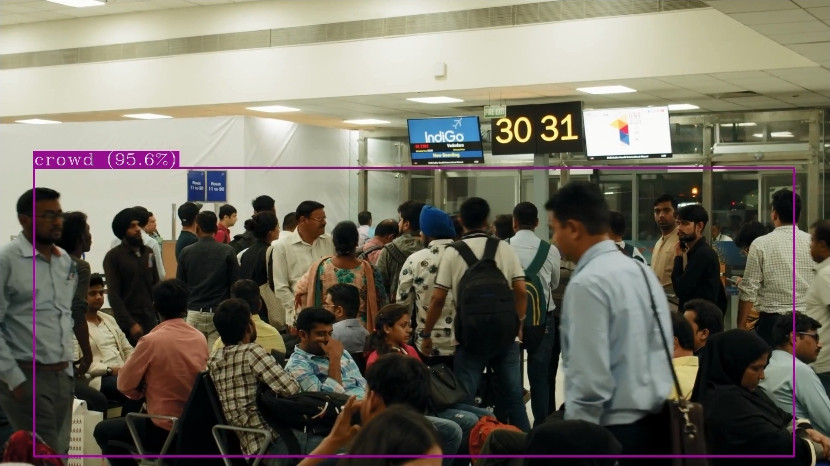
Once the video has been processed by the web app, you can view the results.
#
Results